flashing btt octopus pro with klipper using pi
Author: Sanket Sonavane
Publish Date: 2024-03-03
Last Updated: 2024-03-03
Table Of Content
NOTE: 🔴
- article is only for BigTreeTech Octopus Pro F446 v1.0.1 of the board.
- we are going to flash the octopus pro controller board using dfu mode using pi which has klipper, moonraker and mainsail running.
- we are not going to hook up octopus pro controller board to external power supply during this procedure.
CAUTION: 🔴
- DO NOT make any connections or jumper changes to Octopus Pro when its in powered on state (either using power supply or usb-c)
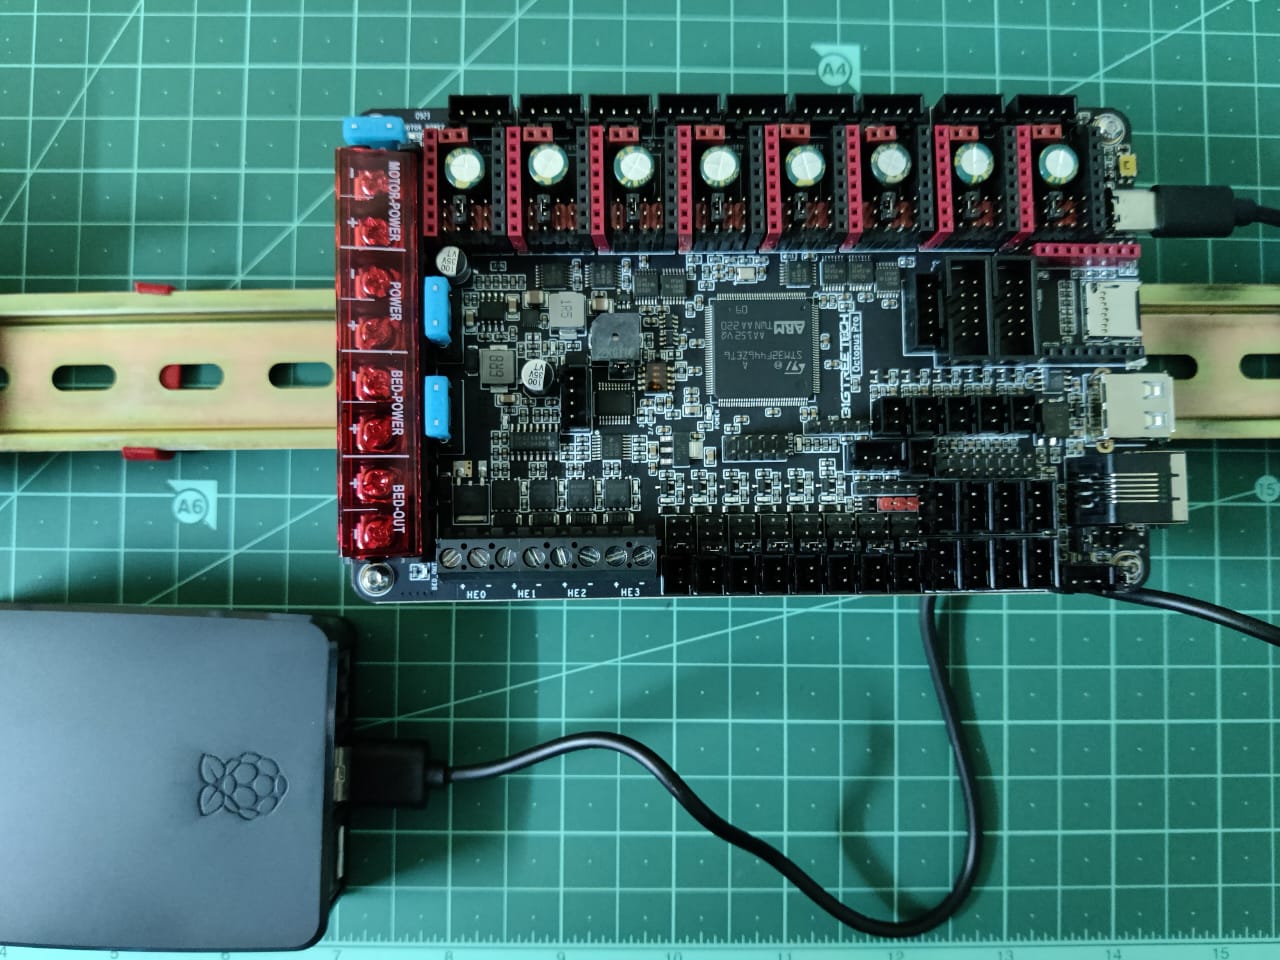
1. wiring and setup
- what you need is octopus pro , connected to pi using a usb-c cable.
- thats it we do not need external power supply or any of the stepper drivers to be populated here or any other wires to be connected yet
- our focus here is to flash the octopus pro board here with klipper.
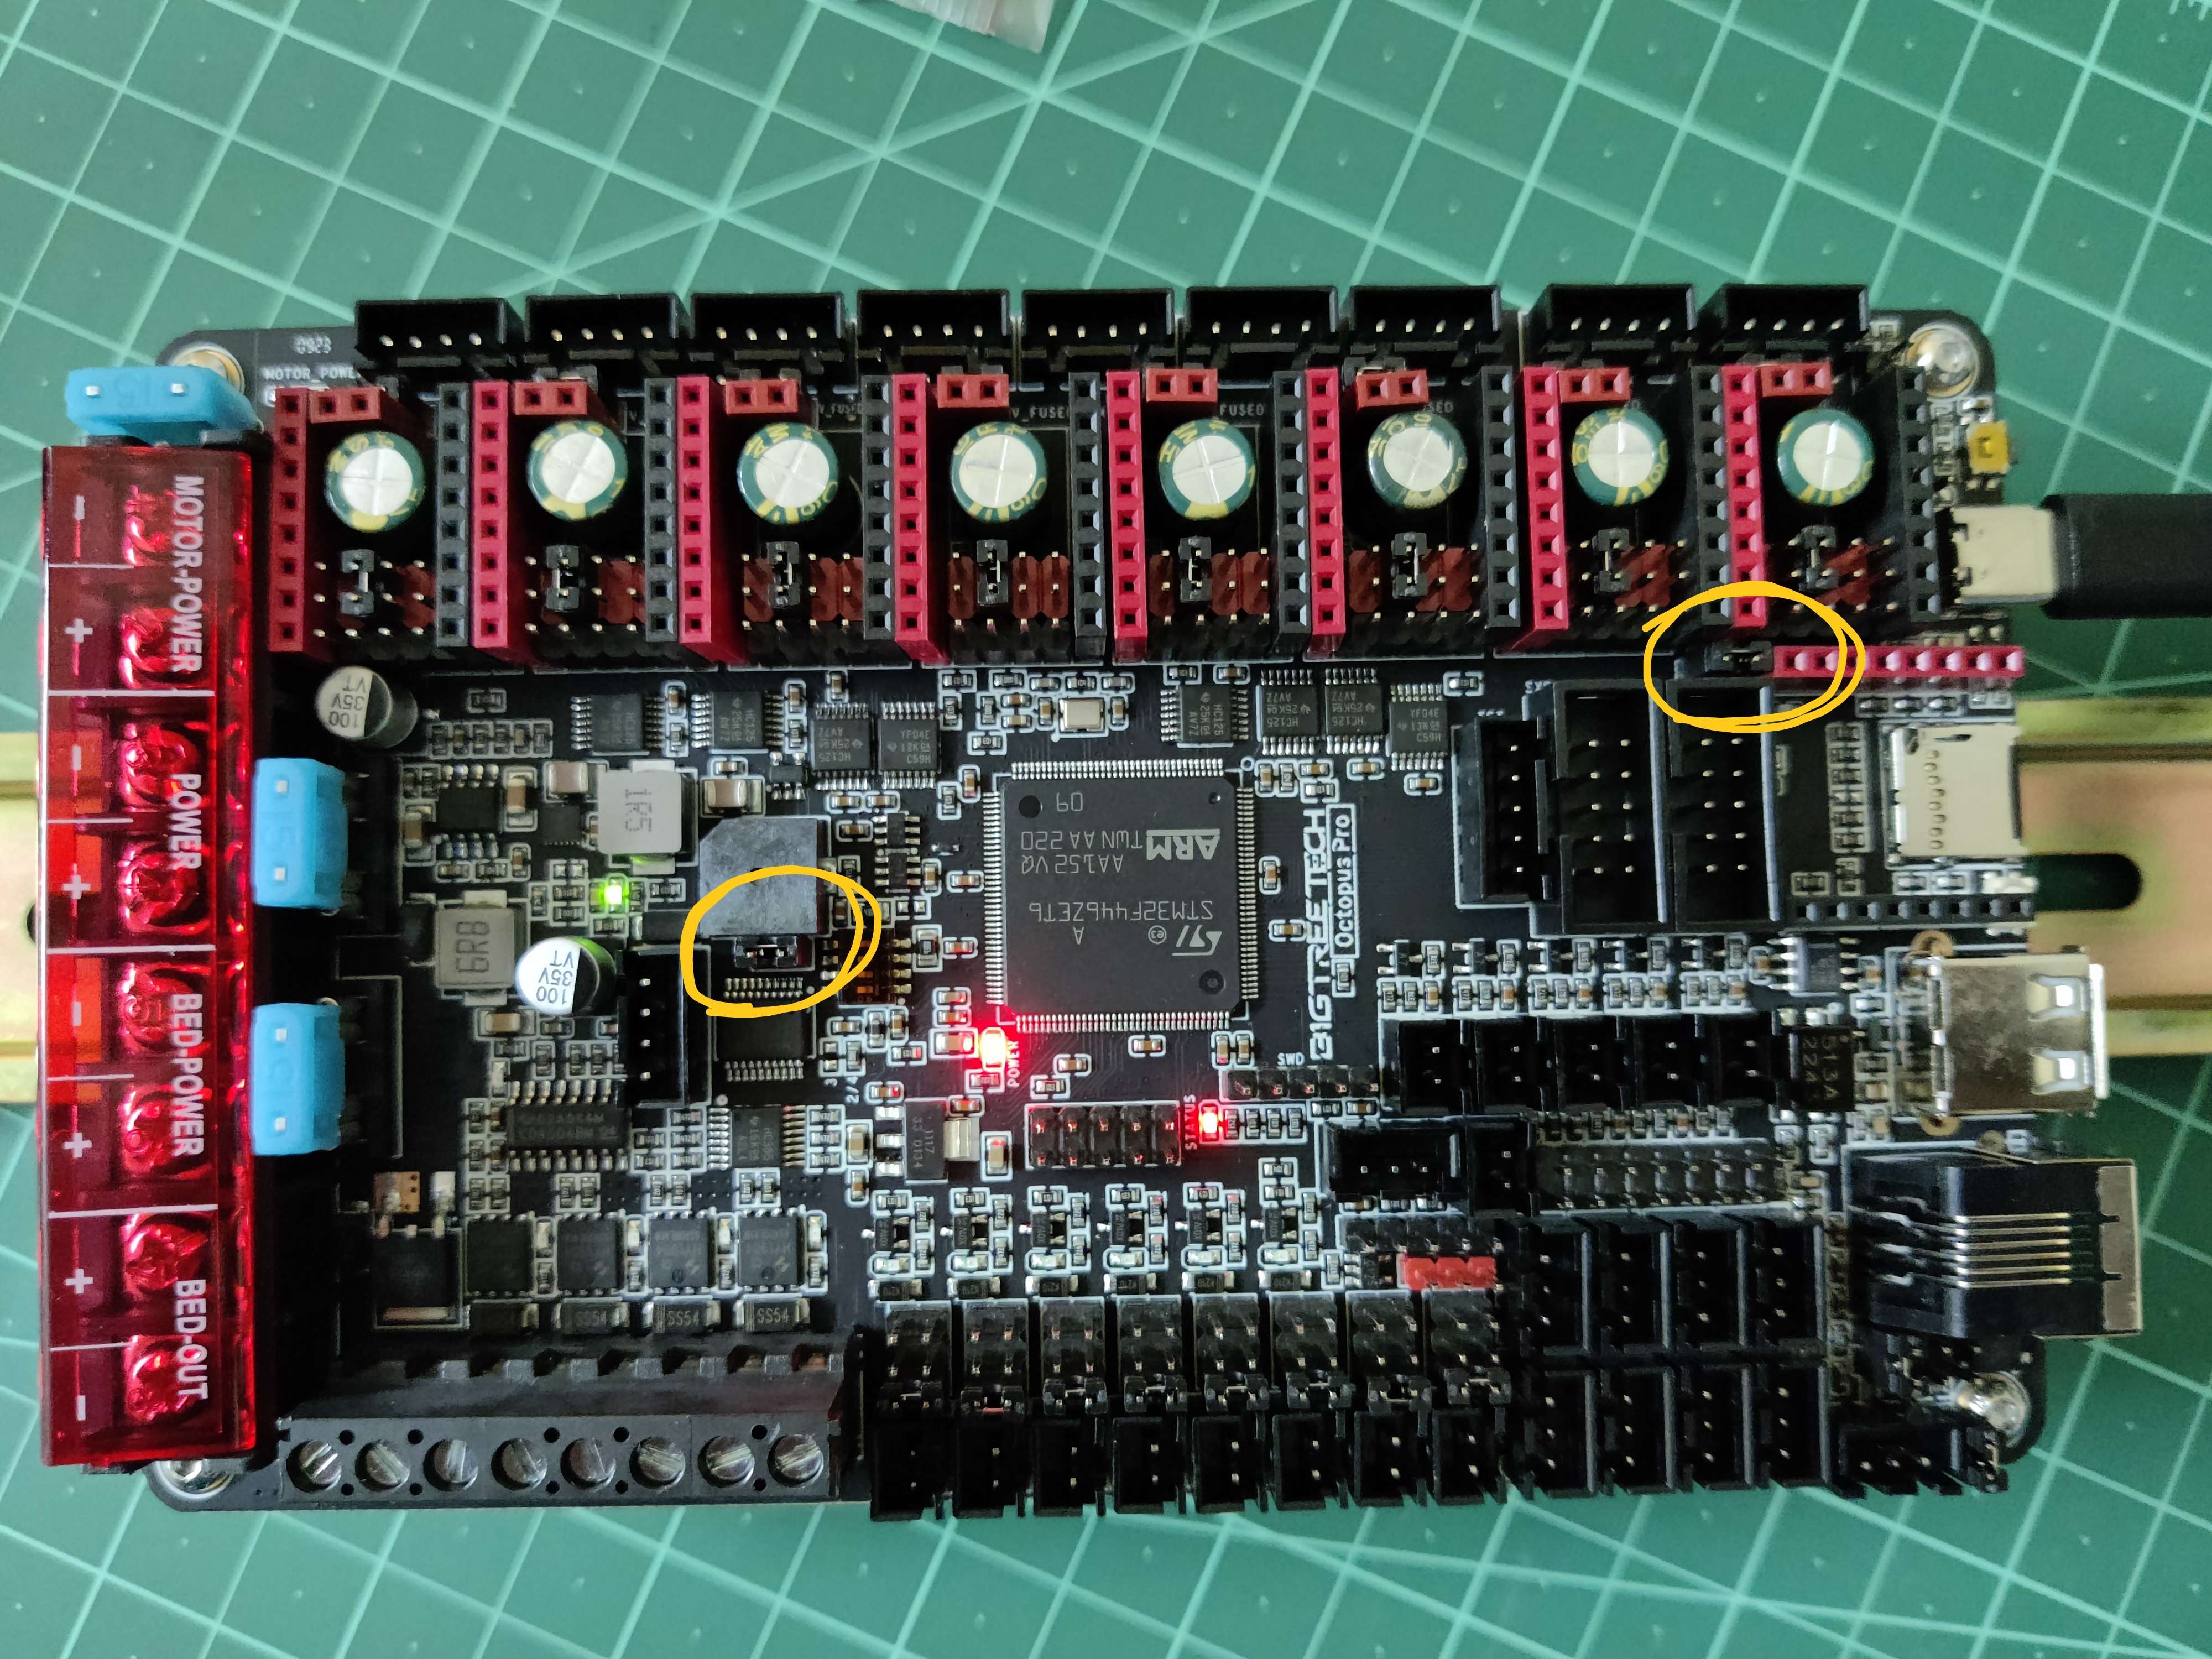
Power down your octopus pro if connected and connect the following jumpers.
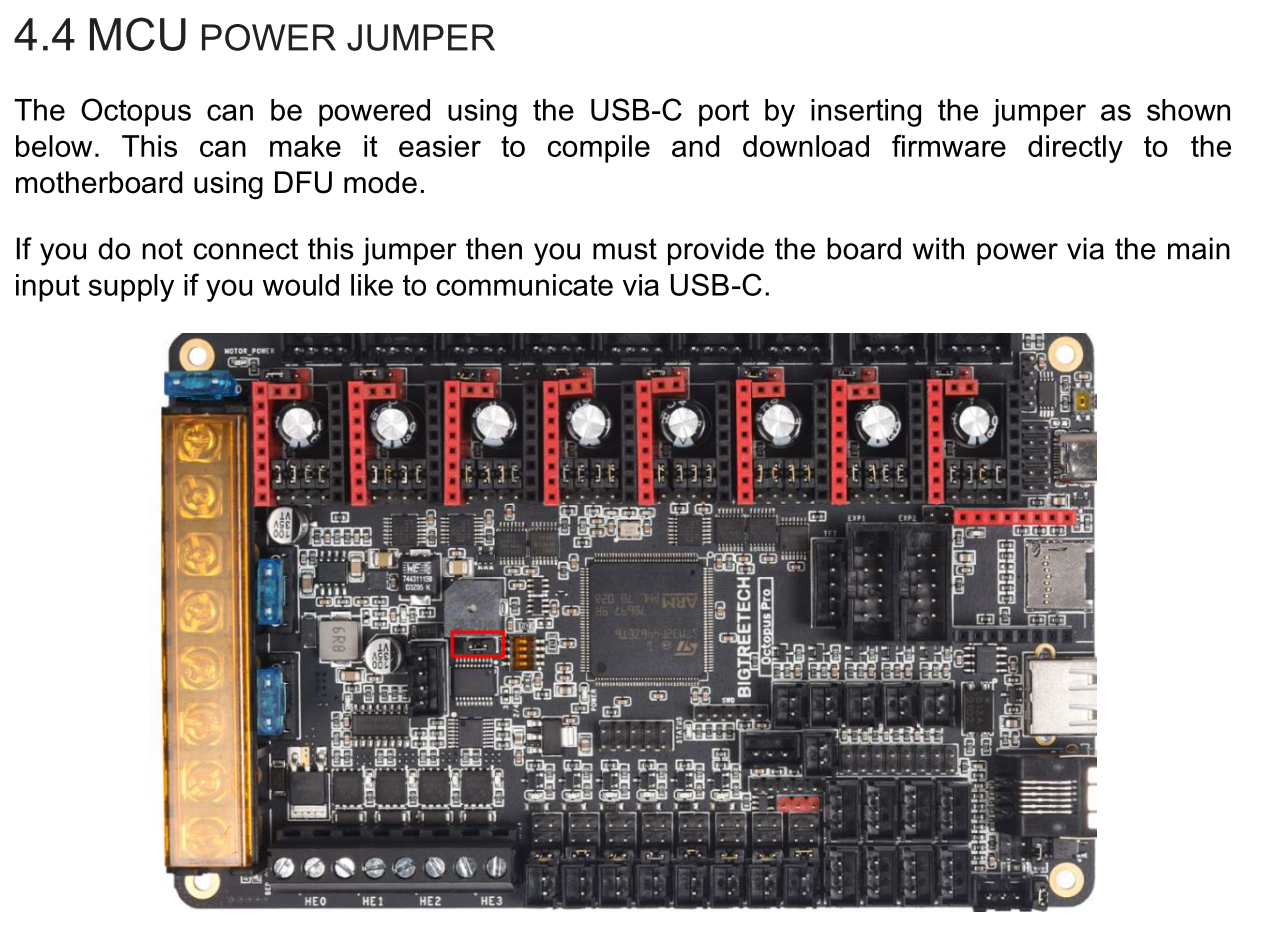
- mcu power jumper
- BOOT0 jumper
importance of mcu power jumper as mentioned in manual.
2. generate klipper firmware
NOTE: assuming you have already got a pi with klipper installed , if not then you can check here
- if you have klipper installed and running on your pi then we are good to go.
- just power on your pi and ssh into it
- make sure you have make installed on your pi
sudo apt install make
change directory to klipper, for me klipper is located at
~/klipperthen runmake cleanandmake menuconfig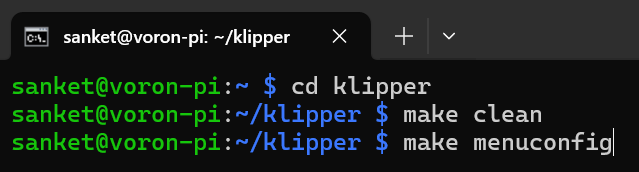
running the
make menuconfigshould open the following menu. select the following options for octopus pro , hit q to quit and y to save your selection
now run
makecommand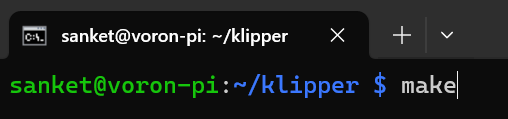
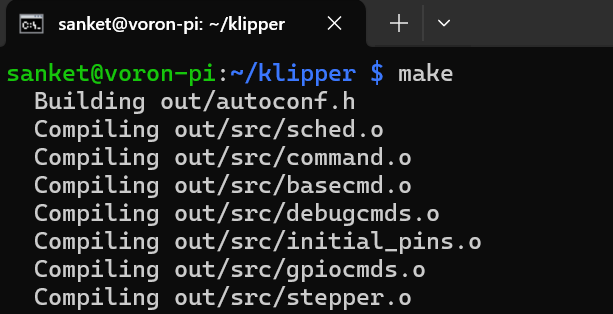
on success it should have created
klipper.binin~/klipper/outdirectory.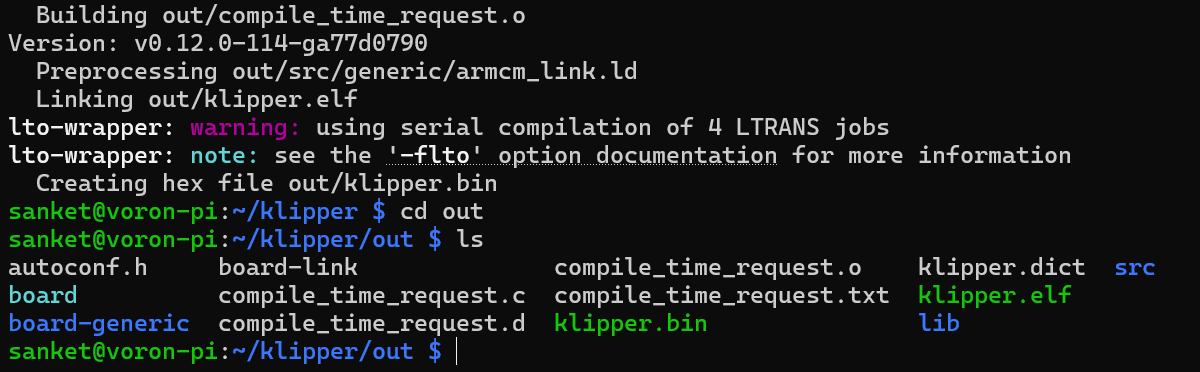
3. flashing klipper firmware
NOTE:
- you should have completed the wiring and setup as mentioned in section 1 and your octopus pro is in dfu mode.
- power on your pi with usb cable connected to octopus pro.
ssh into pi and run
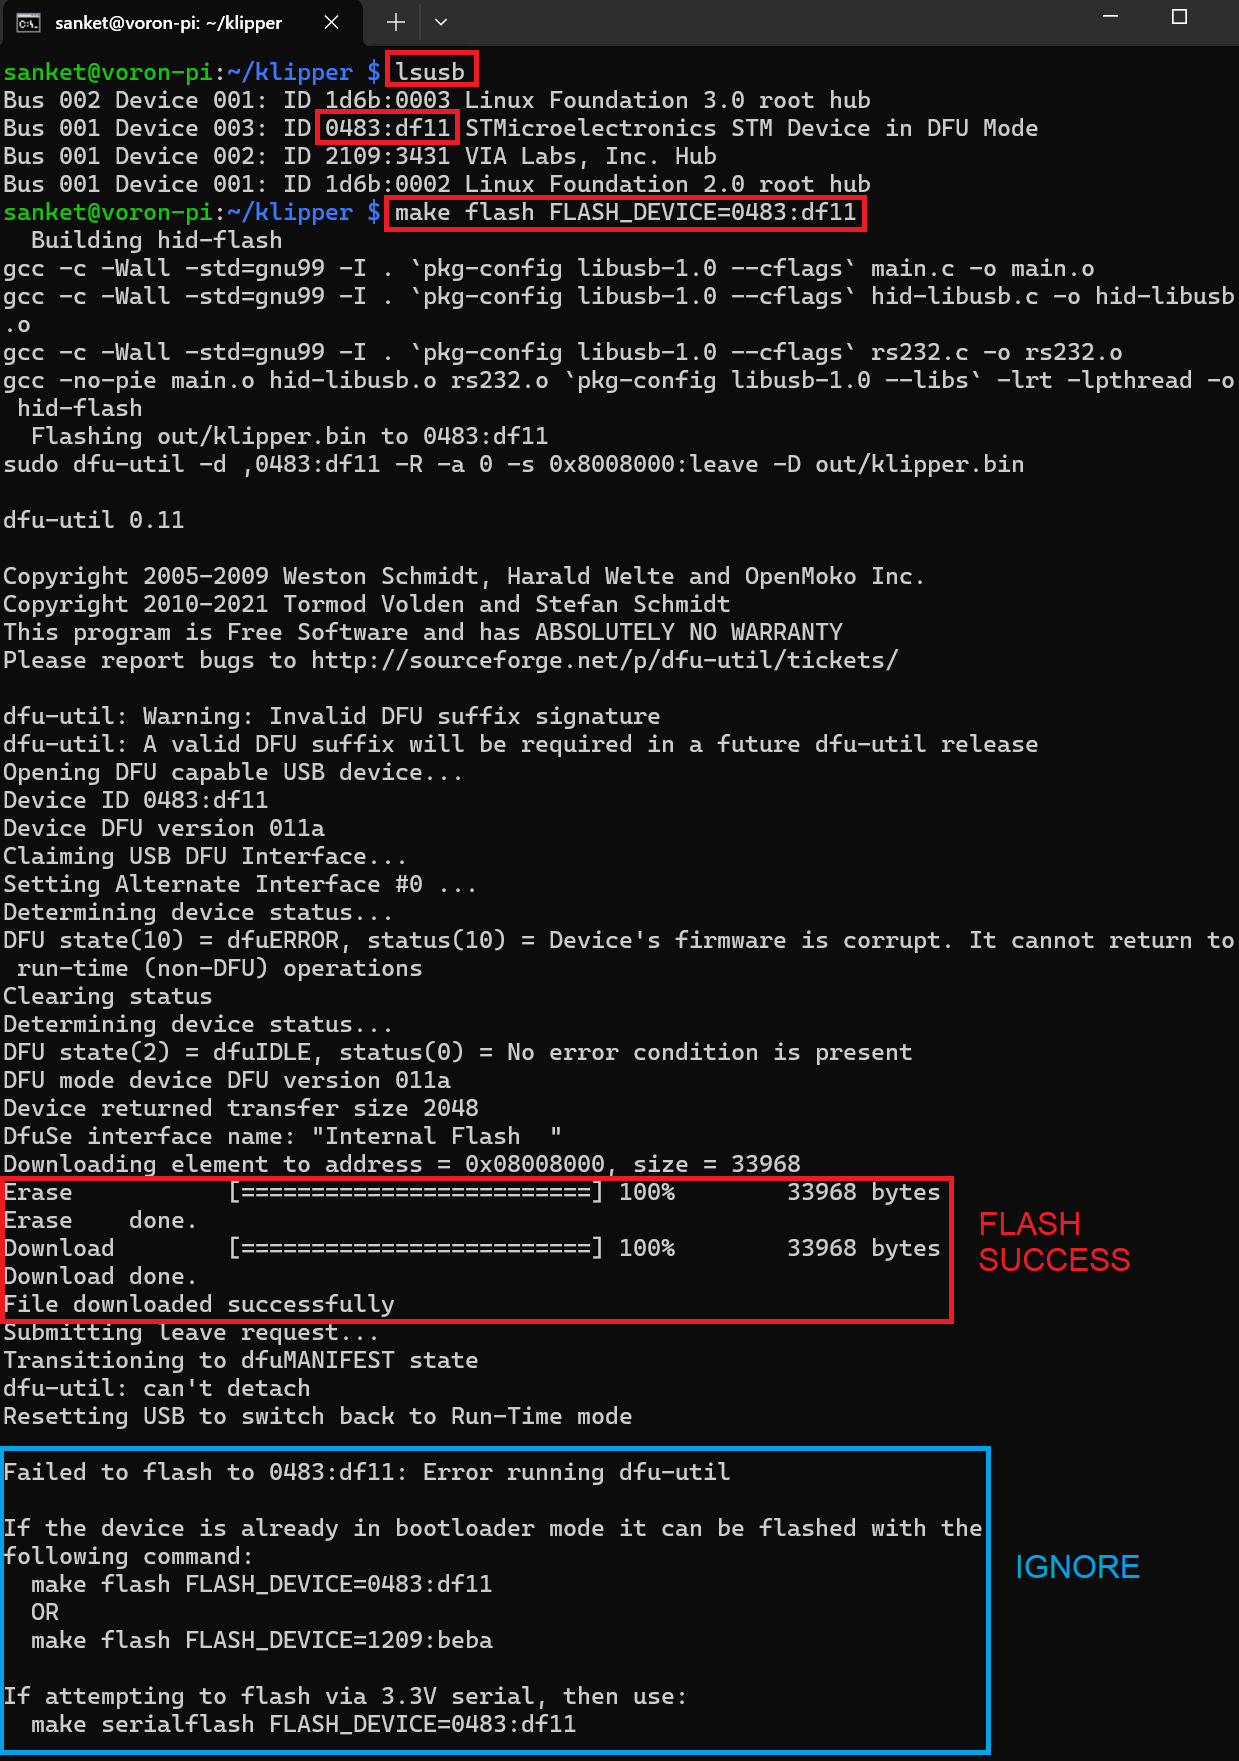
lsusbcommand. check if it displaysSTM device in DFU mode with an ID like 0483:df11(make a note of the ID). if yes you got it correct and its ready to be flashed with klipper.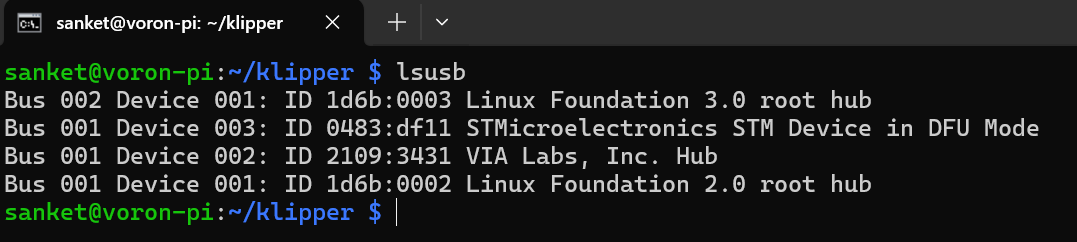
make sure you are in
~/klipperdirectory and run the following command0483:df11is the ID for the octopus pro in DFU mode, its what you got fromlsusbcommand run in step 1 above. run the following command
make flash FLASH_DEVICE=0483:df11
once you run this command the output in red box below is whats important to check, it should show File downloaded successfully and that means you flashed klipper successfully. just ignore the content of blue box.
- Now, if you got a success message, just power down your board, unplug the BOOT0 jumper and keep the mcu power jumper in place and connect the board back to your pi using usb with no additional power connected to your board.
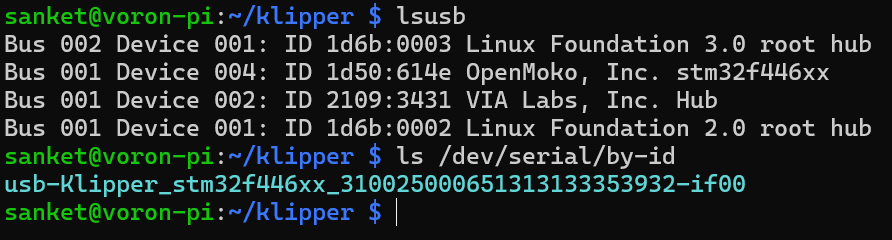
- run
lsusband it should show something like OpenMoko, Inc stm32f446xx (it can be some another company but it should show stm32f446xx) - now run
ls /dev/serial/by-idand it should showusb-Klipper_stm32f446xx_longserialnumber - if this is displayed then klipper was flashed successfully and you need to make a note of this number and add it to your
printer.cfgfile which shall be accessible from mainsail os web ui.
- klipper is successfully flashed to your octopus pro now. :)
references
articles
- Voron V1.8/Trident - BTT Octopus (Pro) Wiring | Voron Documentation
- Octopus (Pro) Klipper Firmware | Voron Documentation
youtubers