install klipper moonraker mainsail fluidd on pi using kiauh script
Author: Sanket Sonavane
Publish Date: 2024-02-24
Last Updated: 2024-02-24
Table Of Content
I wanted to setup my raspberry pi4 model b with mainsail and fluidd both using kiauh script. So lets get this done step by step.
install pi4 with pi os lite 32 bit and ssh into it
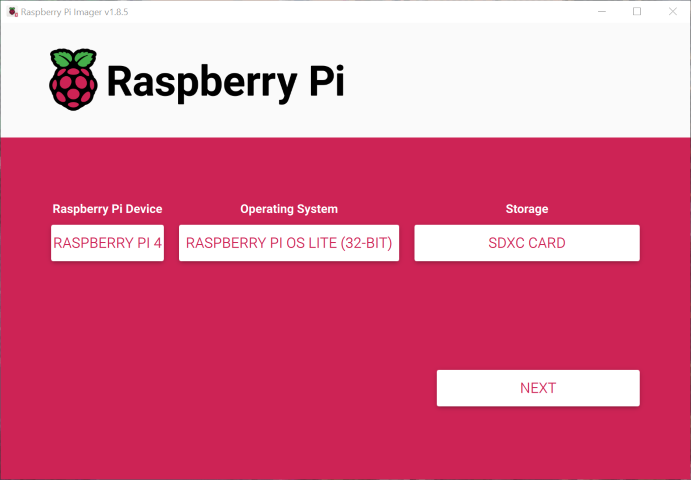
we will use pi imager app on windows to flash pi os lite 32 bit to the sd card which will then be inserted into our pi
selected pi 4 , pi os lite 32 bit , and appropriate sd card where we want to flash this image and hit next
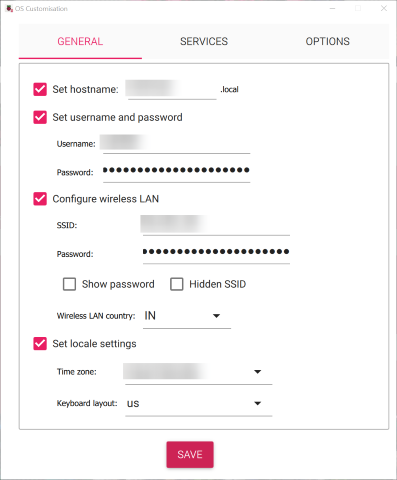
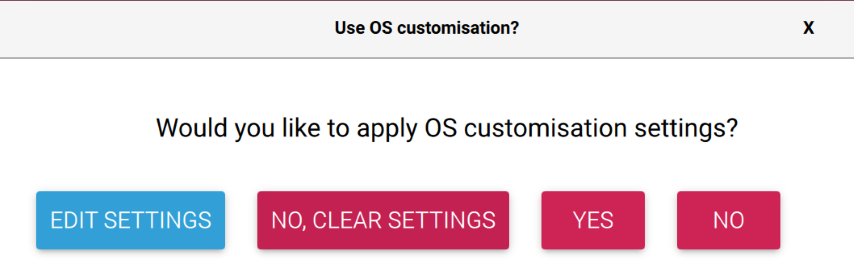
we will opt for os customization and please enter applicable values in general tab as this will help you set some necessary value for your pi like your hostname, username and password and wifi configuration as well as your local
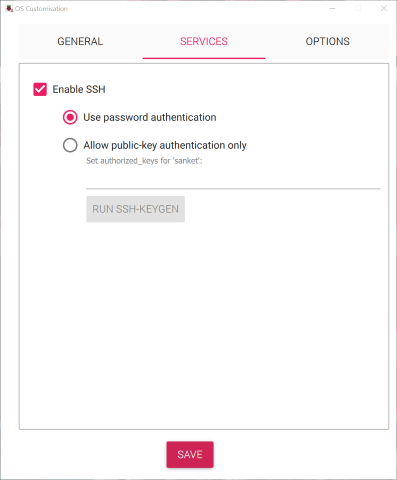
under services elable ssh so that we can login to it using ssh from any terminal
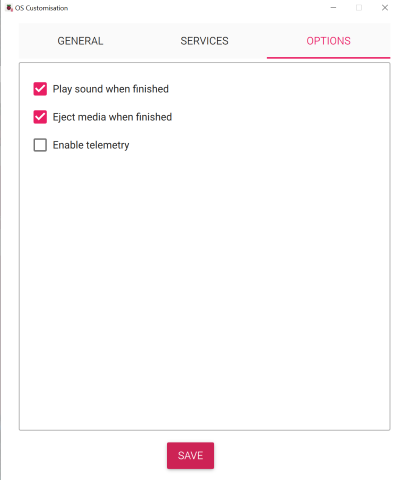
select option to eject media when finished
once the customisation settings are dialed in click yes to move ahead
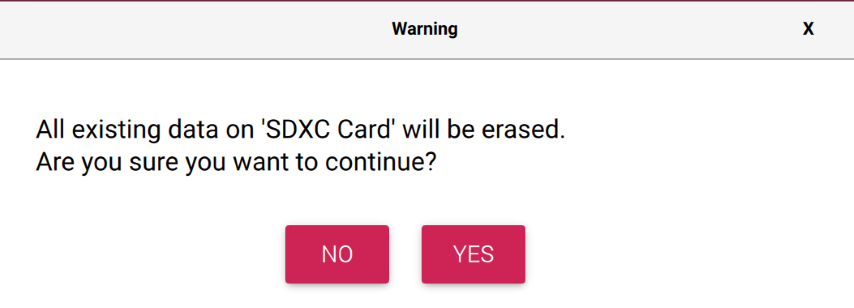
this will erase everything on your sd card so that we can flash the new operating system so click yes if you think its ok to proceed.
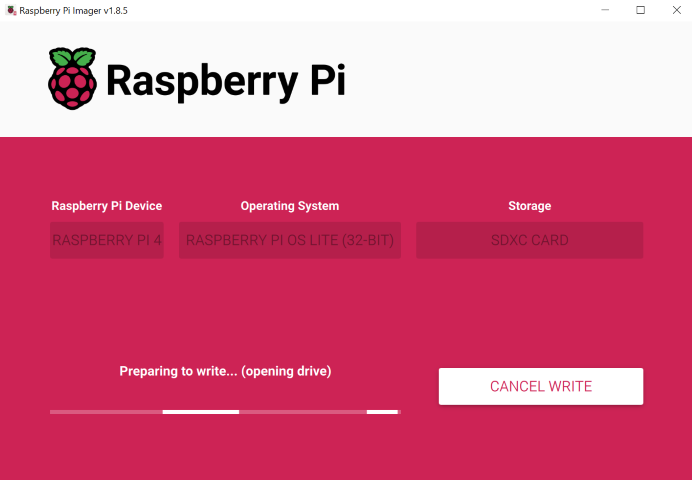
its now preparing the sd card to write
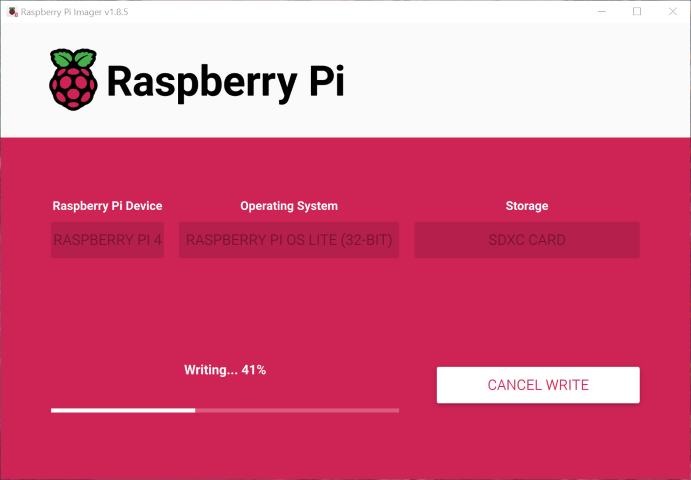
its now writing the sd card with the os image
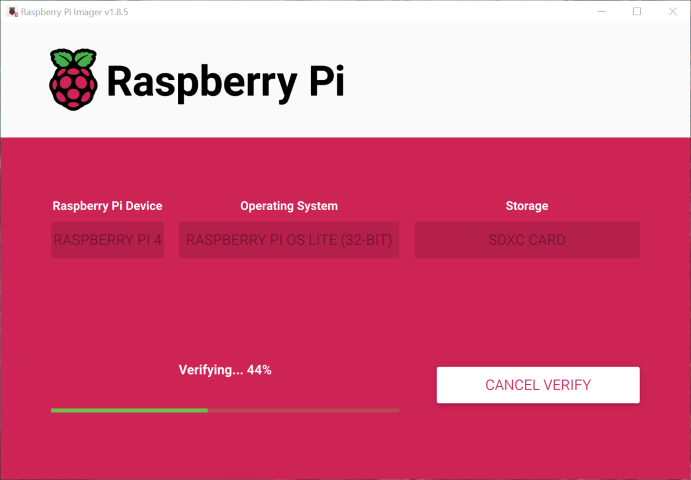
its now verifying the sd card
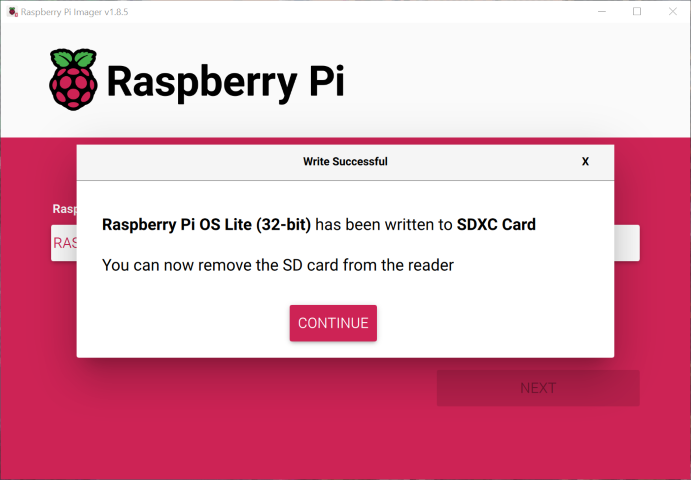
looks like everything went smoothly and we have our sd card ready with pi os lite and we can plug this into out pi and boot it.
first boot
NOTE:
- first boot will take some time so be a bit patient.
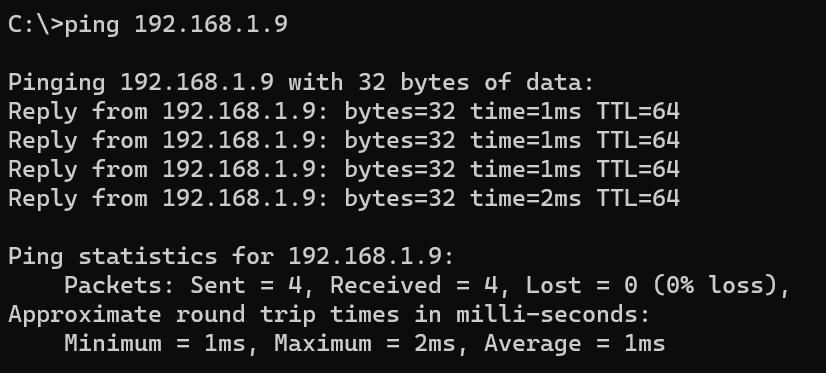
on first boot find the ip address using network tools like your wifi admin page of your pi and try to ping it.
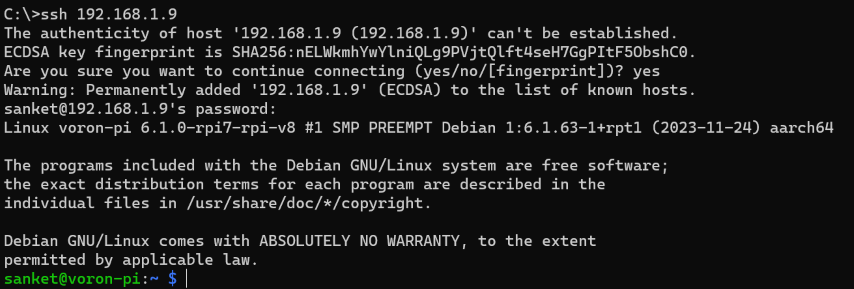
now you can ssh into it as follows and use the password which you specified in pi imager app
also when ever I perform a first boot I always would like perform the following
sudo apt-get update
sudo apt-get upgrade
then we need to get git installed for further steps
sudo apt-get install git -y
install kiauh script
following instructions mentioned here to install kiauh script dw-0/kiauh: Klipper Installation And Update Helper
lets ssh into our pi and do the following to get kiauh script on our local machine.
cd ~
git clone https://github.com/dw-0/kiauh.git
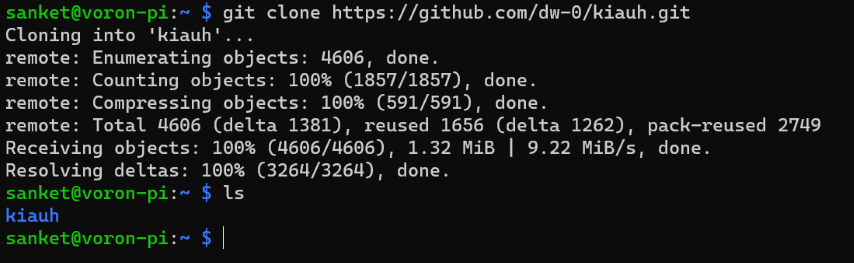
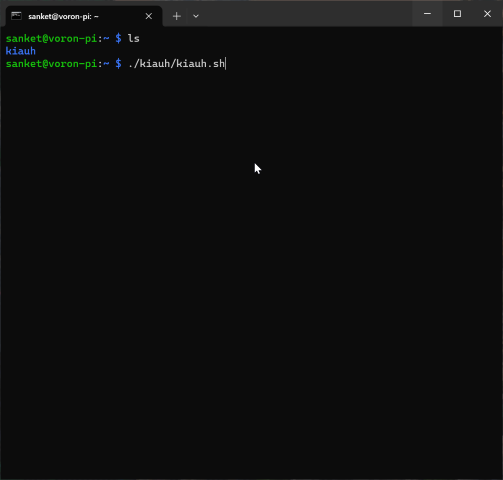
once its cloned locally we need to launch it using the following command
./kiauh/kiauh.sh
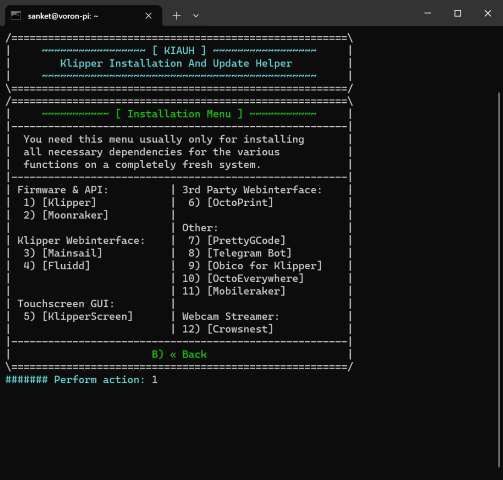
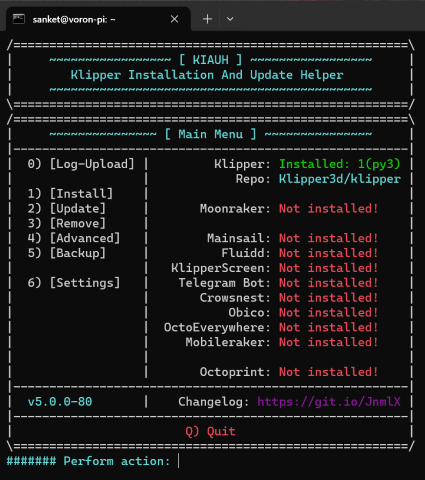
and that show display the following
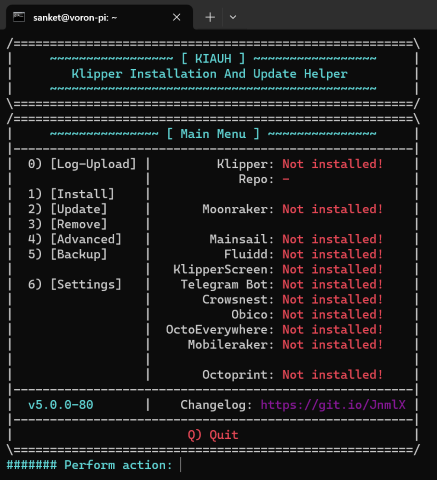
install klipper
after kiauh script has been successfully installed and launched we will proceed with installing klipper
select perform action 1 which is install
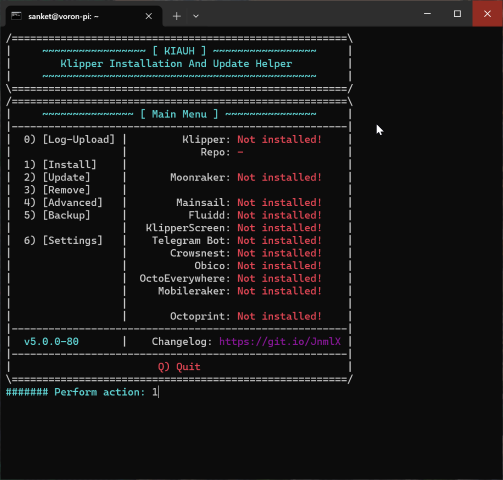
select perform action 1 which is install klippper
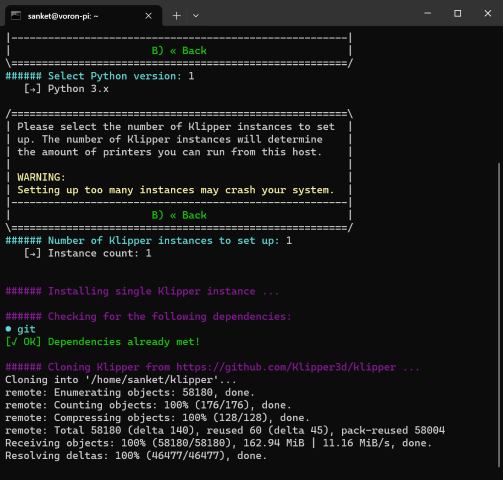
select python 3.x and in instance of klipper on next screen
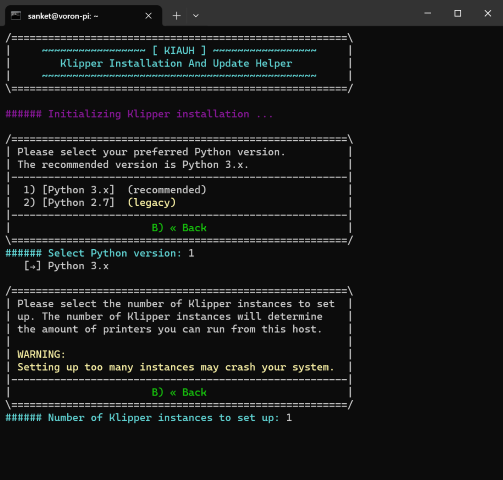
this shall proceed with the install
on install it will display start klipper.service successful
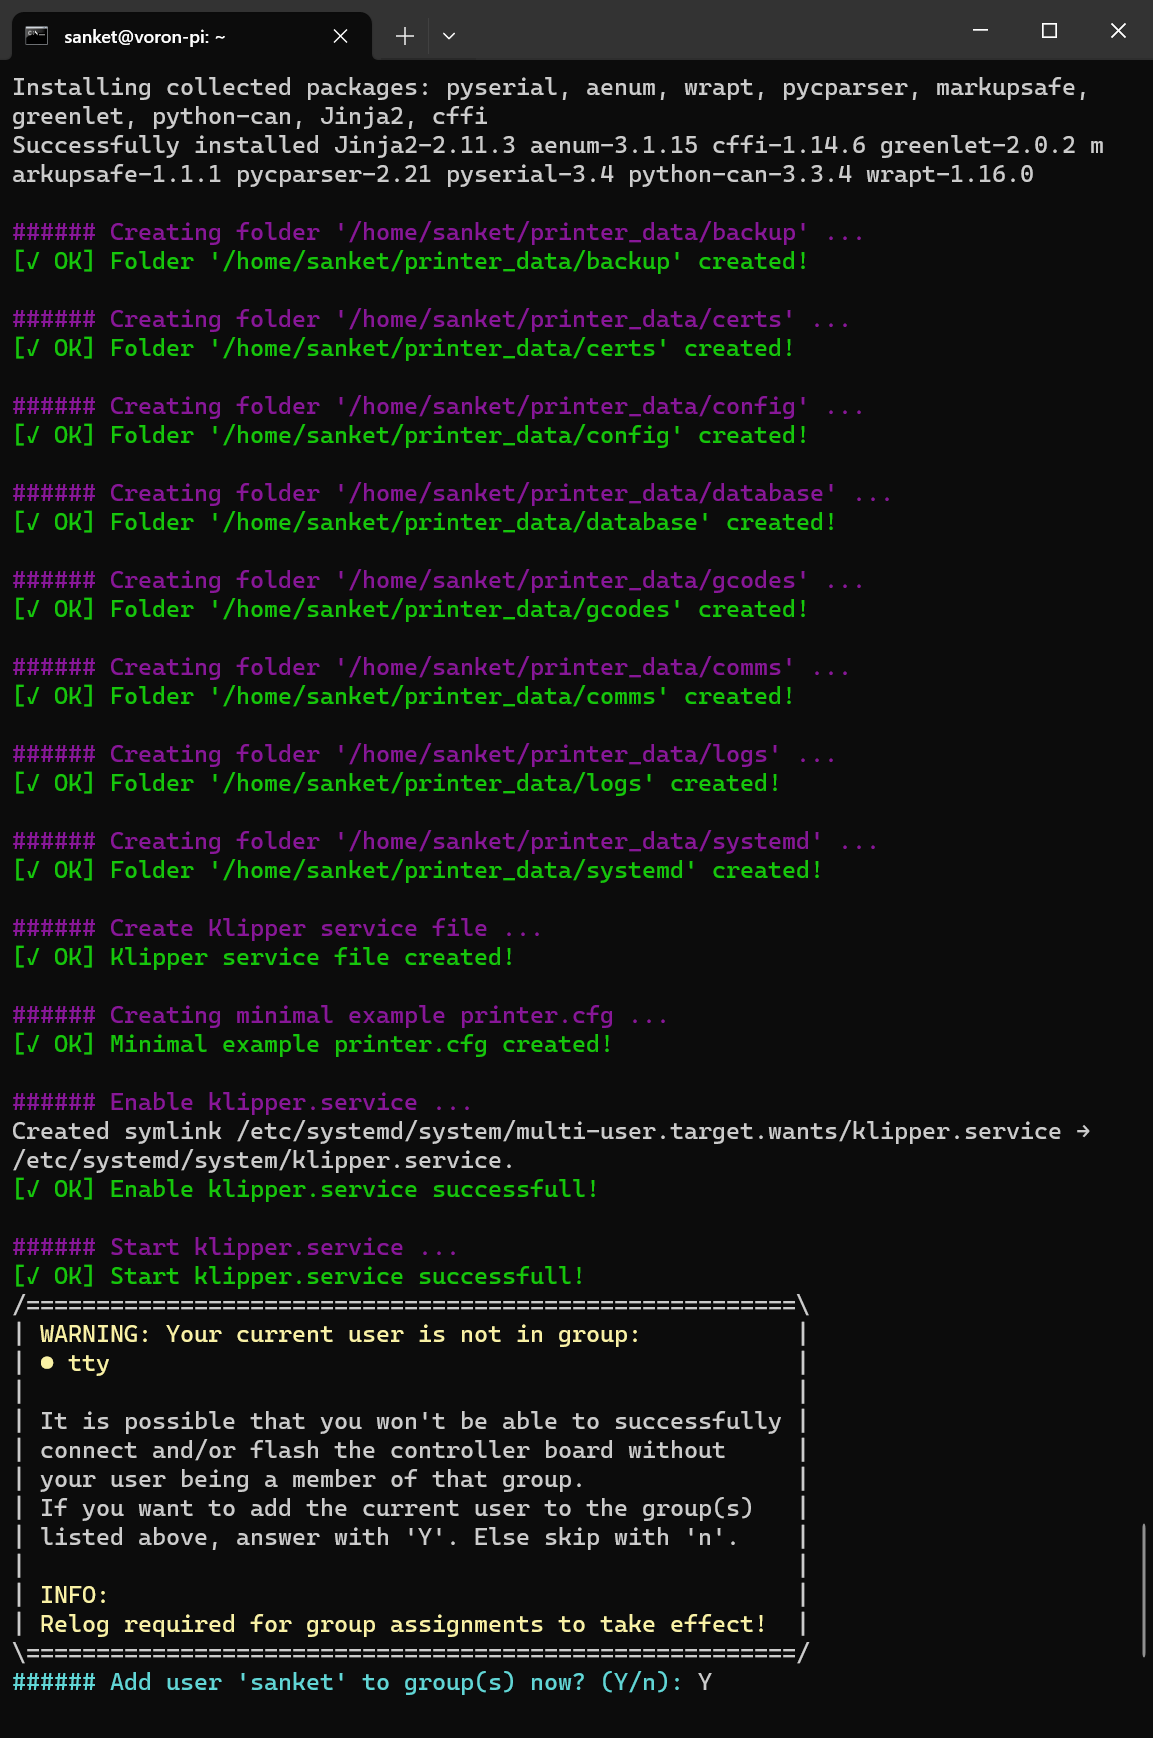
you will be asked to add your pi user (sanket in my case) to groups , select yes here
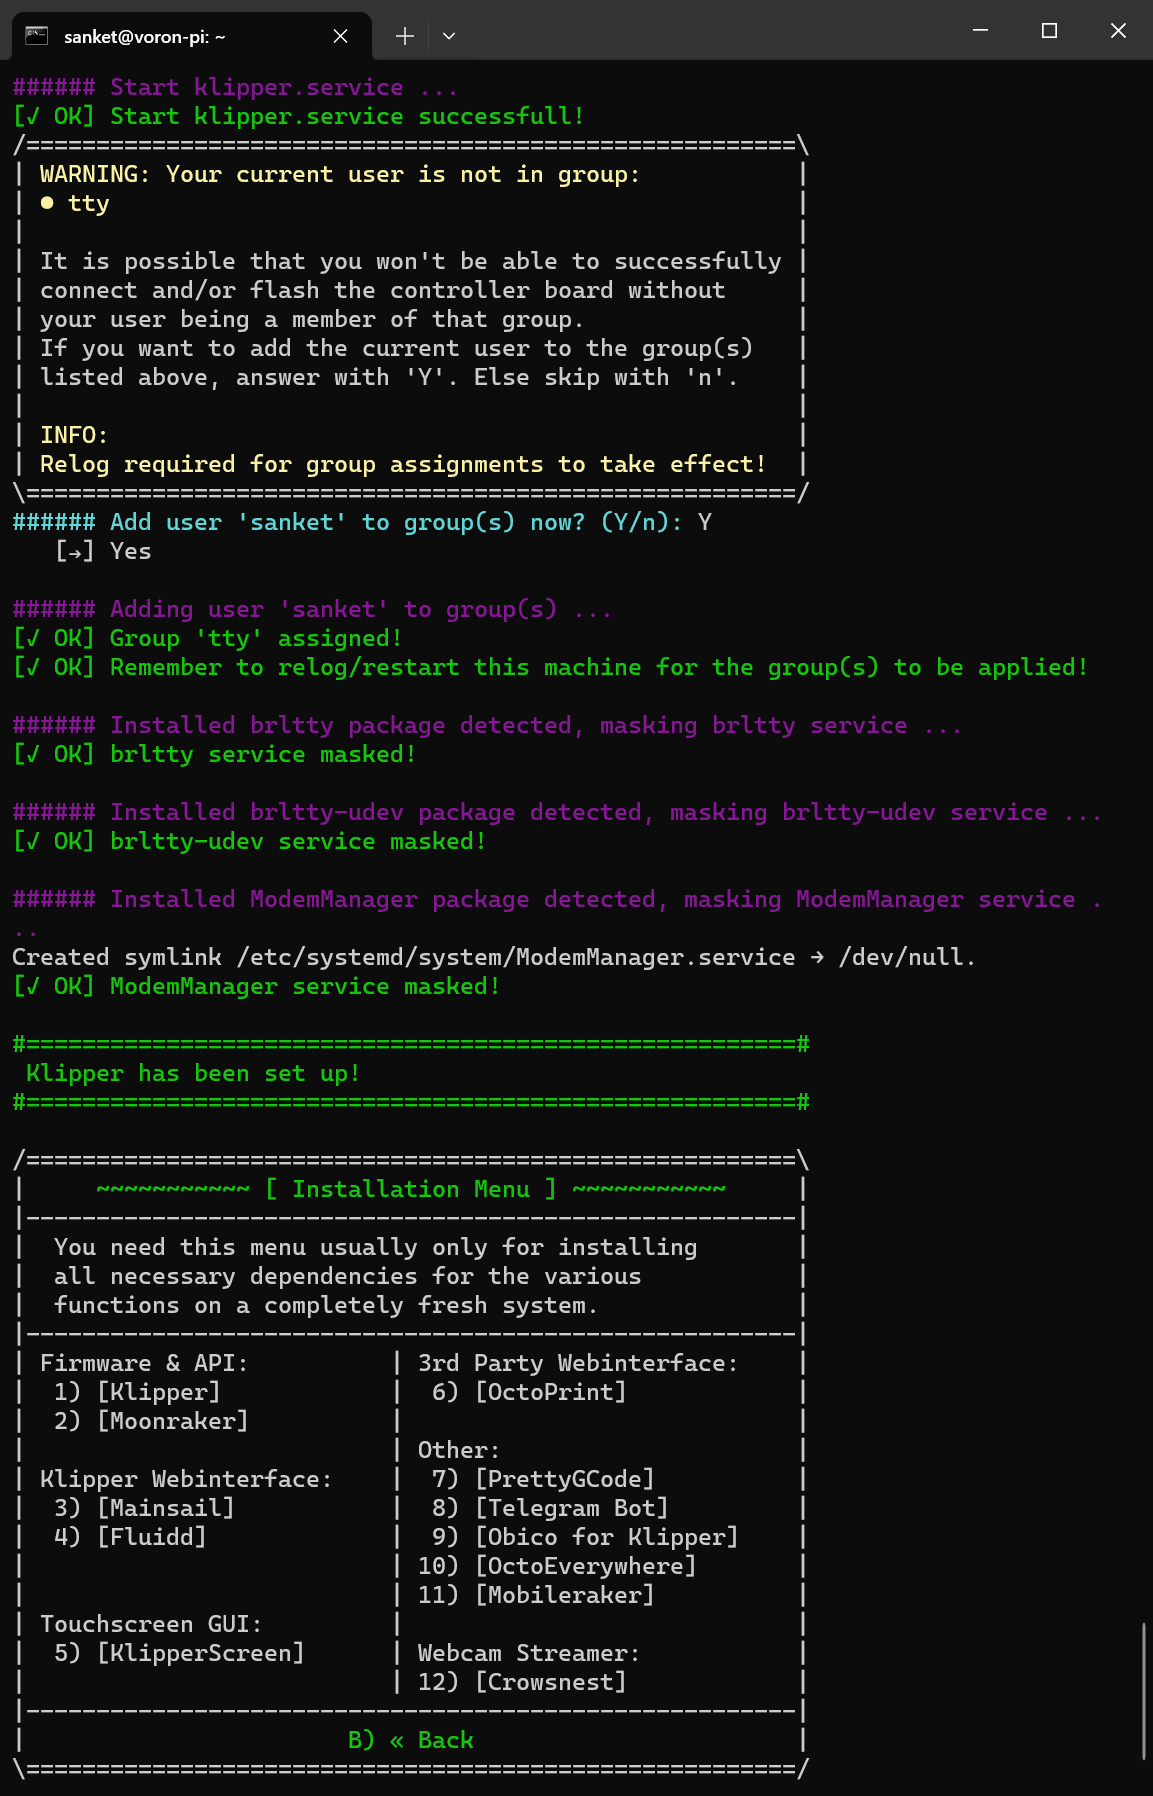
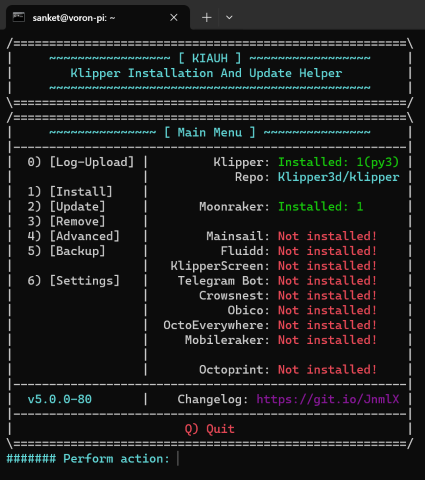
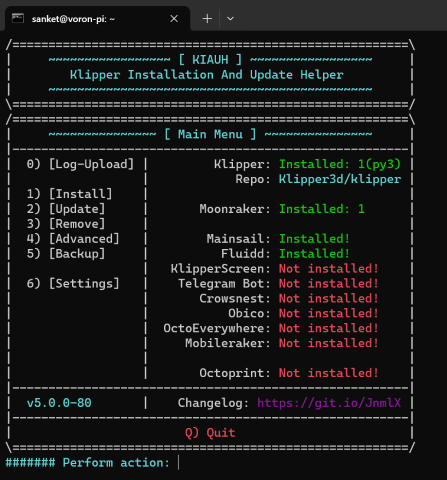
you can come back to main kiauh screen and check that klipper now shows installed
install klipper api moonraker
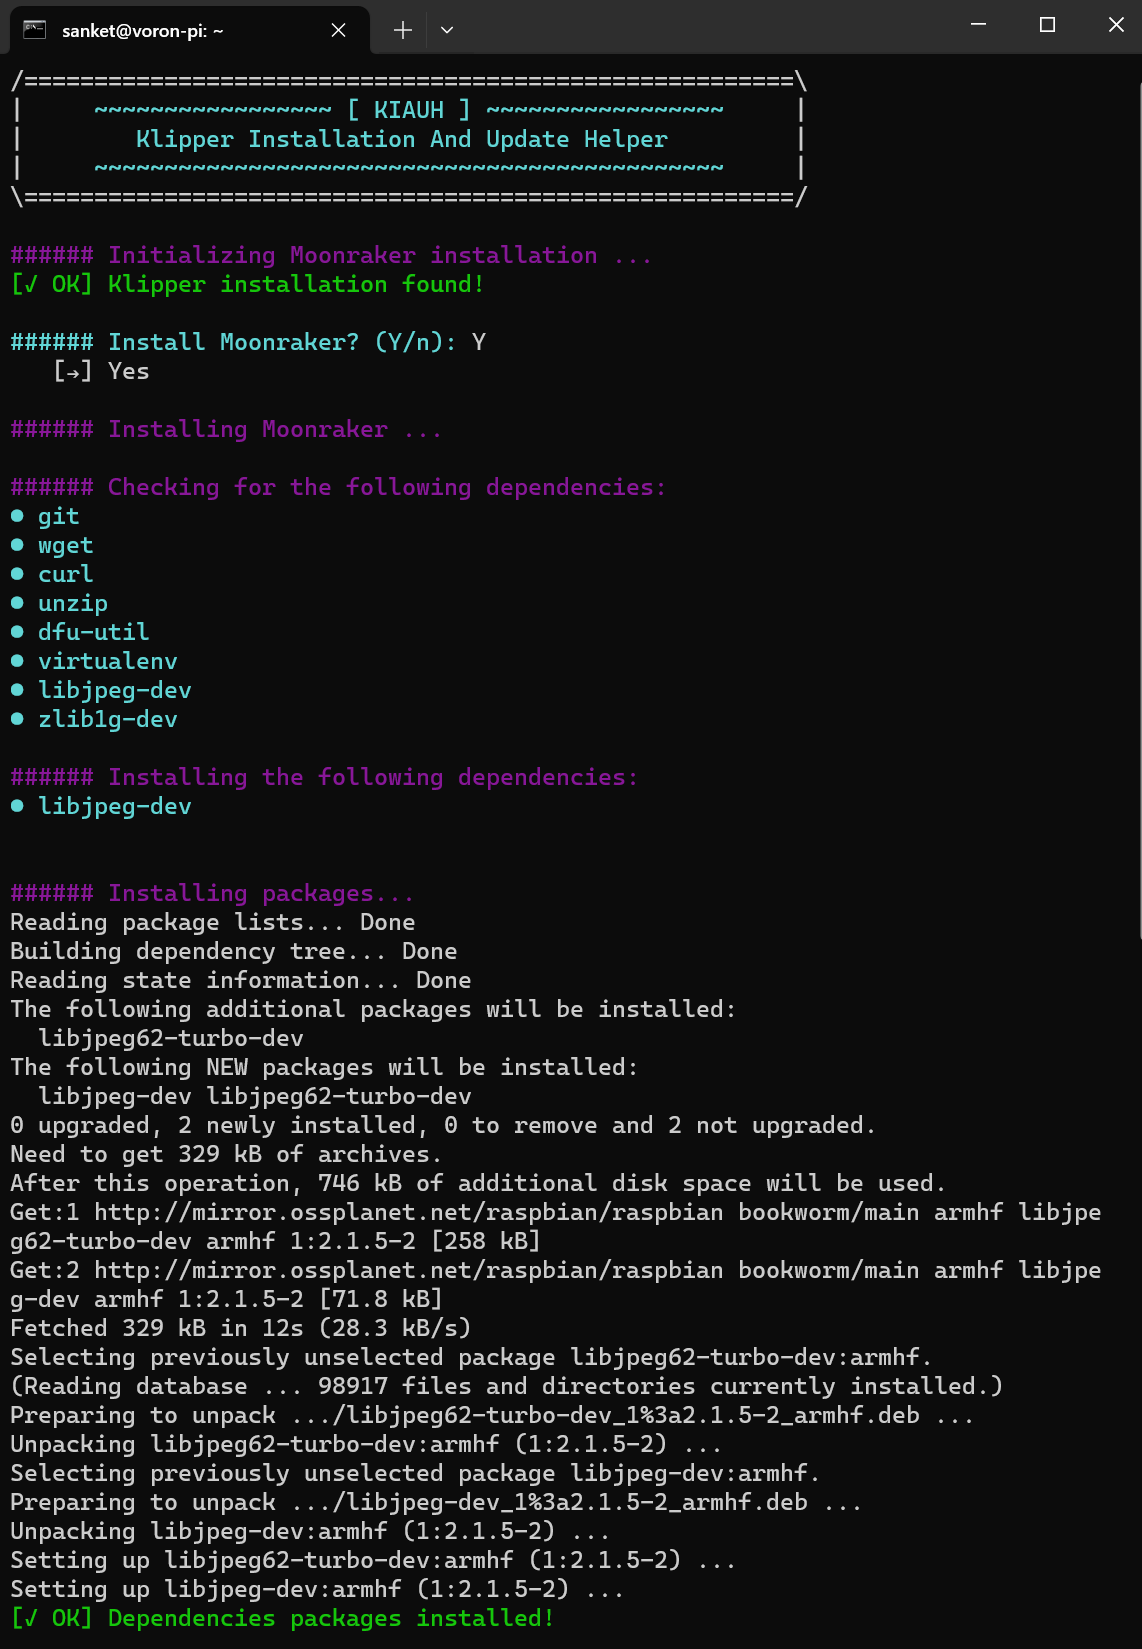
after klipper install we will now install moonraker which is the klipper api using kiauh
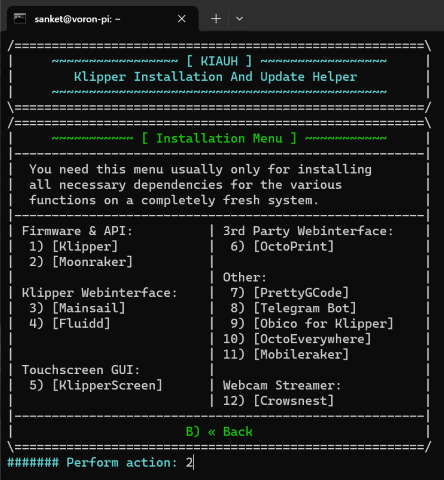
now switch back to install screen and select perform action 2 which is install moonraker
select y
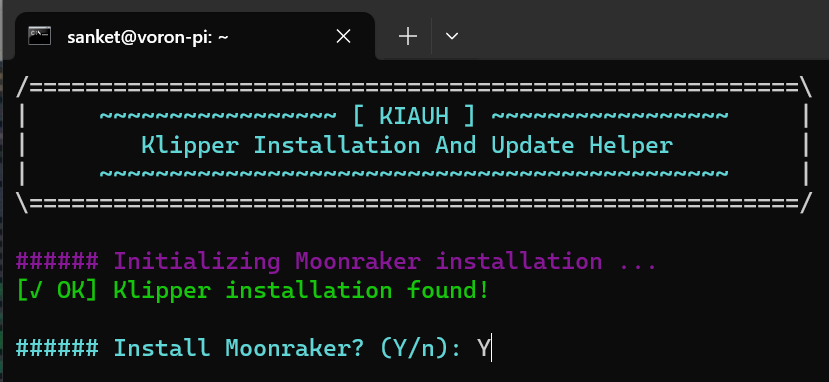
moonraker install will begin
on success it will display moonraker has been setup
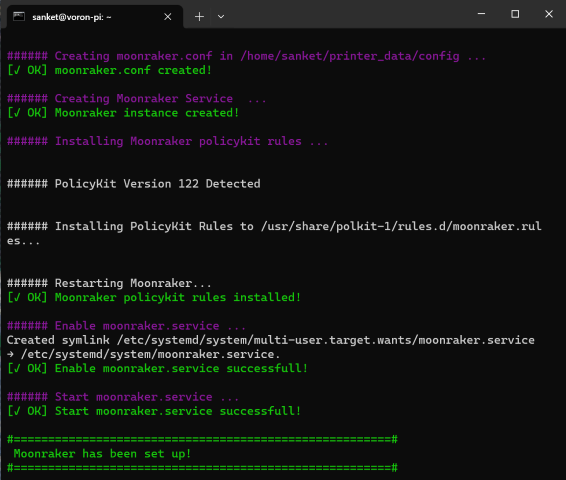
you can come back to main kiauh screen and check that moonraker now shows installed
install mainsail
NOTE:
- we can either choose to install mainsail or fluidd.
- you can skip installing mainsail if you prefer fluidd
after moonraker install we shall proceed with mainsail install using kiauh
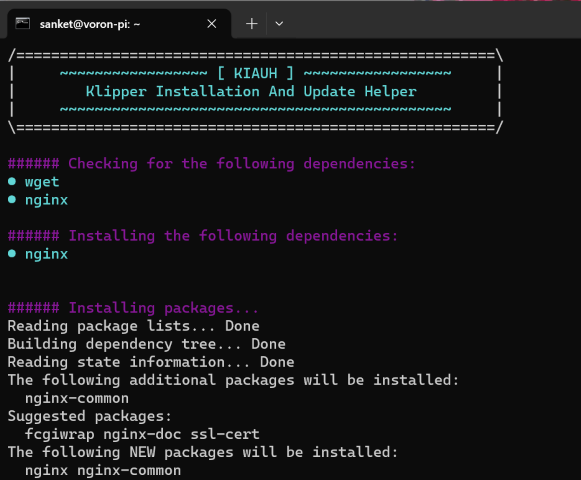
now switch back to install screen and select perform action 3 which is install mainsail

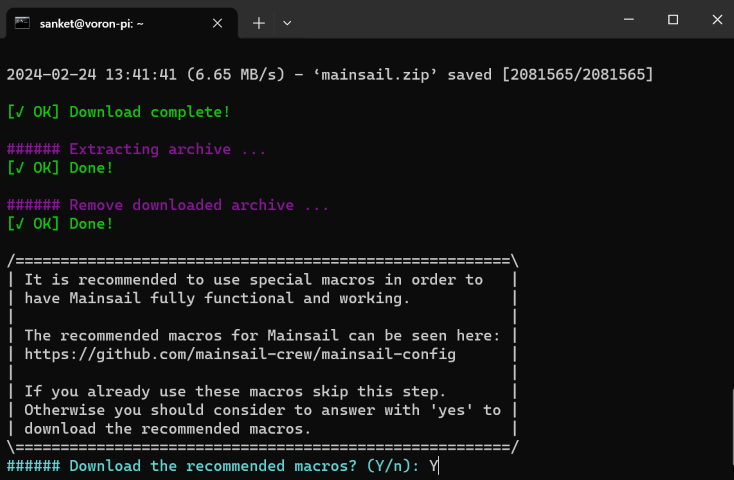
the mainsail install will begin
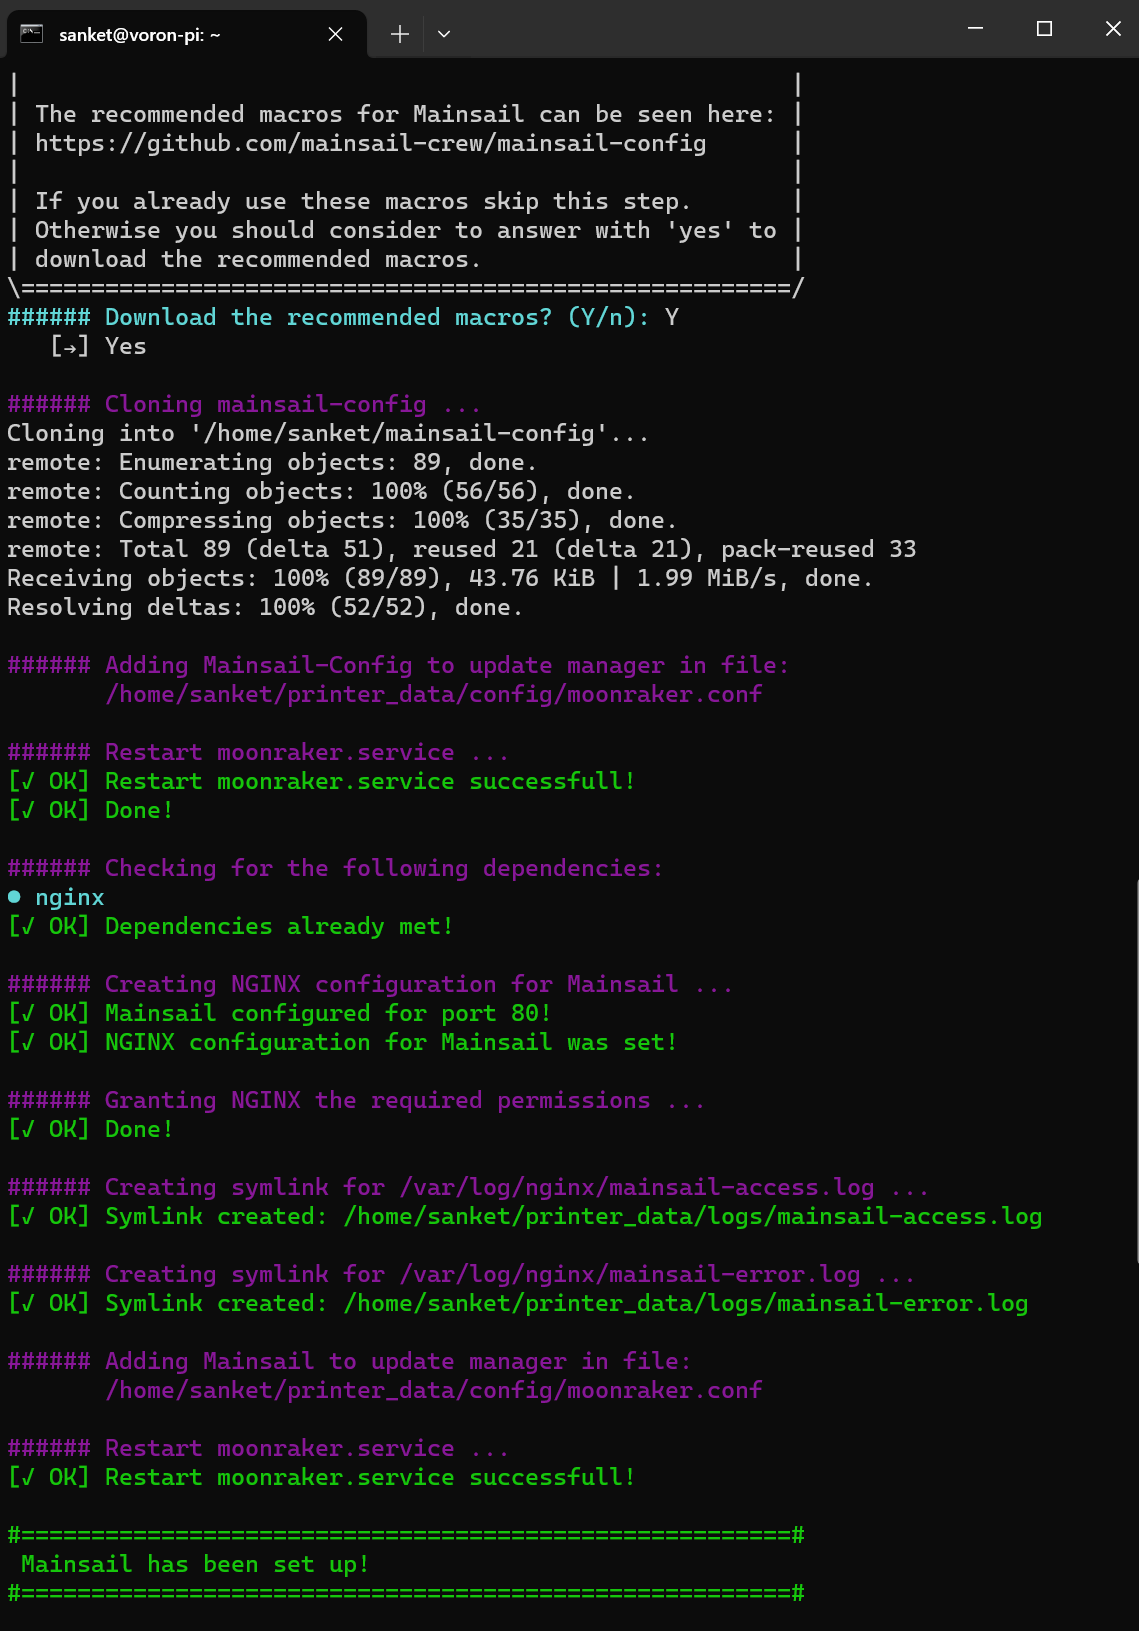
during the install you will be asked if you want to install recommended macros and I opted for it using Y.
on success it will display mainsail has been setup.
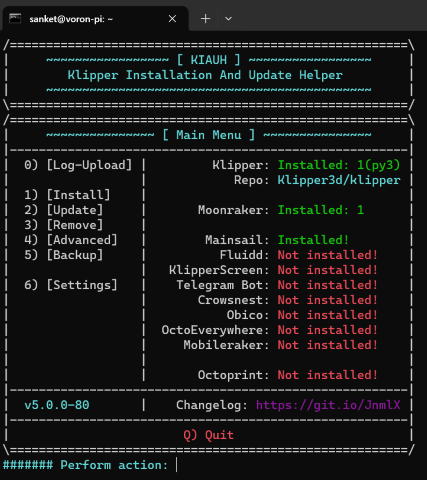
you can come back to main kiauh screen and check that mainsail now shows installed.
now you can reboot your pi and open mainsail web ui.
sudo reboot
if the web ui shows up like so you have everything working fine.
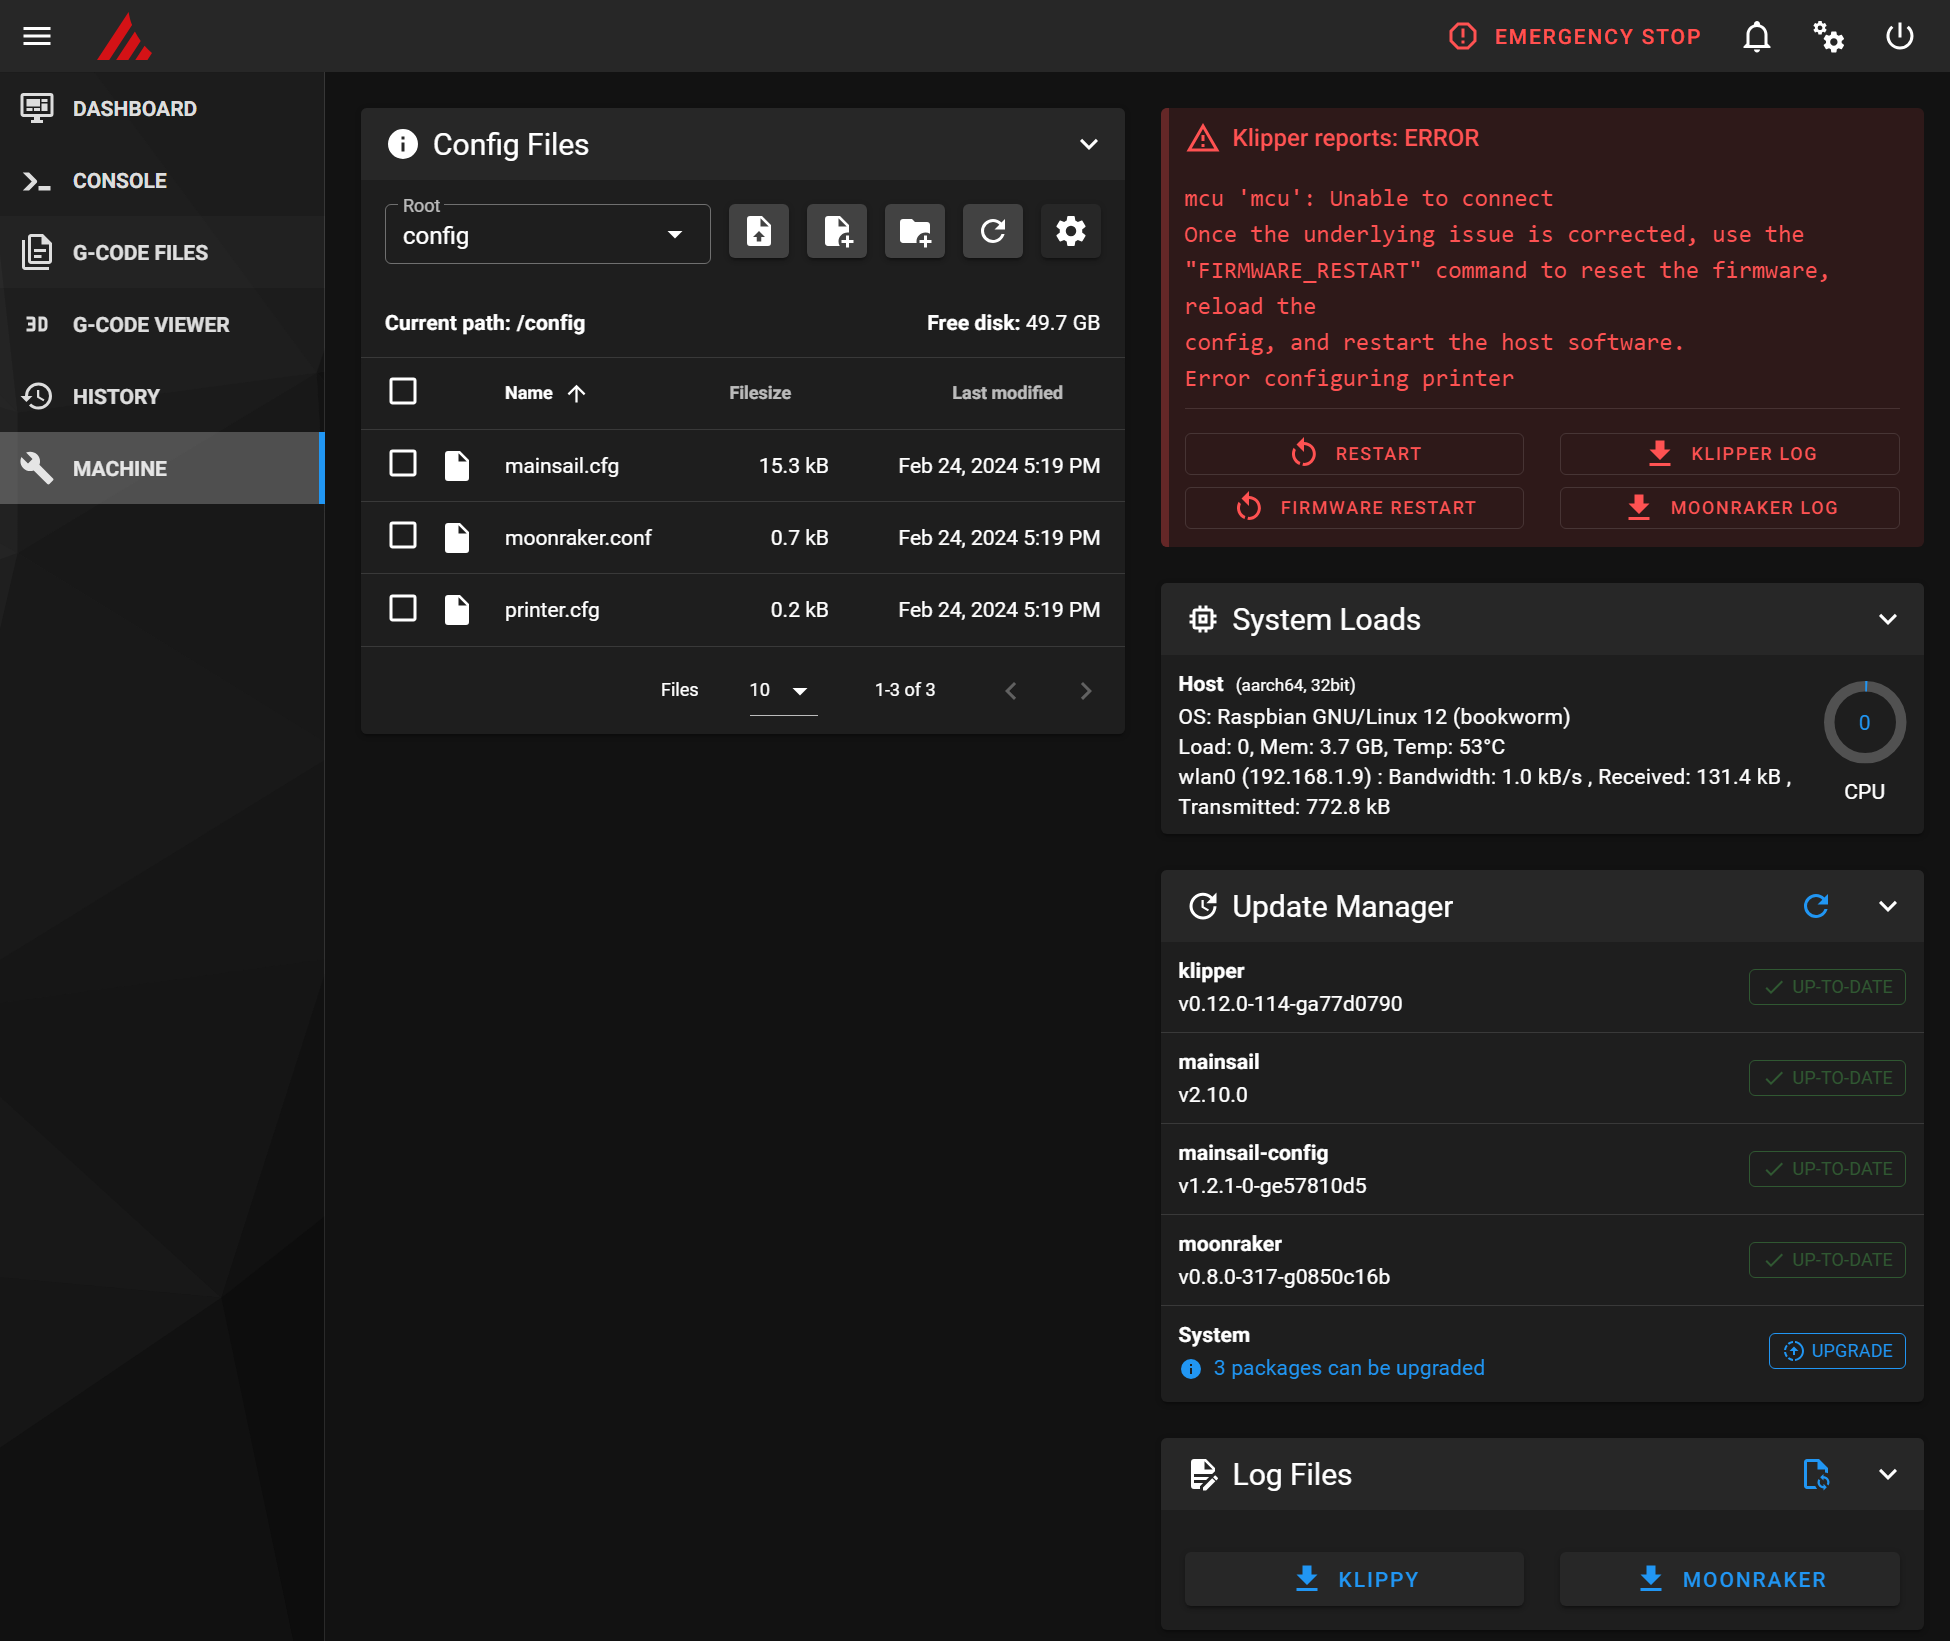
NOTE: the update manager should show everything up to date as we used kiauh to get the latest of everything
install fluidd
NOTE:
- we can either choose to install mainsail or fluidd
- since my primary choice of klipper web ui is mainsail I will optionally install fluidd after I install mainsail.
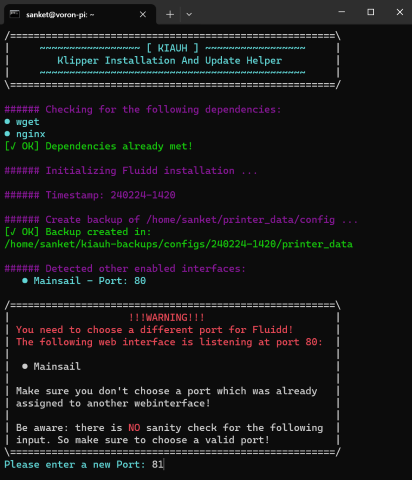
- since mainsail is already installed and exposed as a web ui on port 80, we need to expose fluidd on a different port and I opted for port 81 to keep things simple.
now switch back to install screen and select perform action 4 which is install fluidd
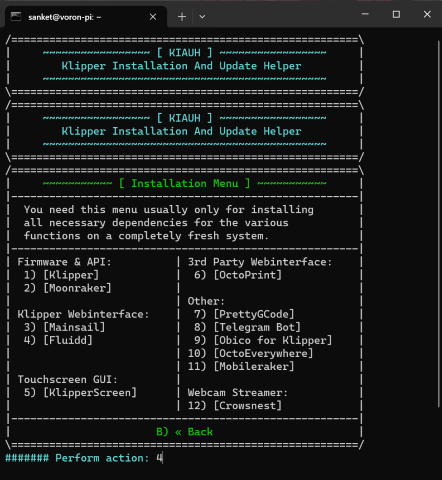
the fluidd install will begin
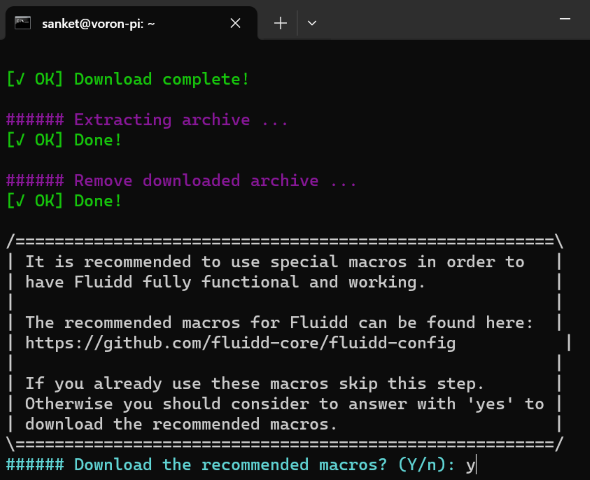
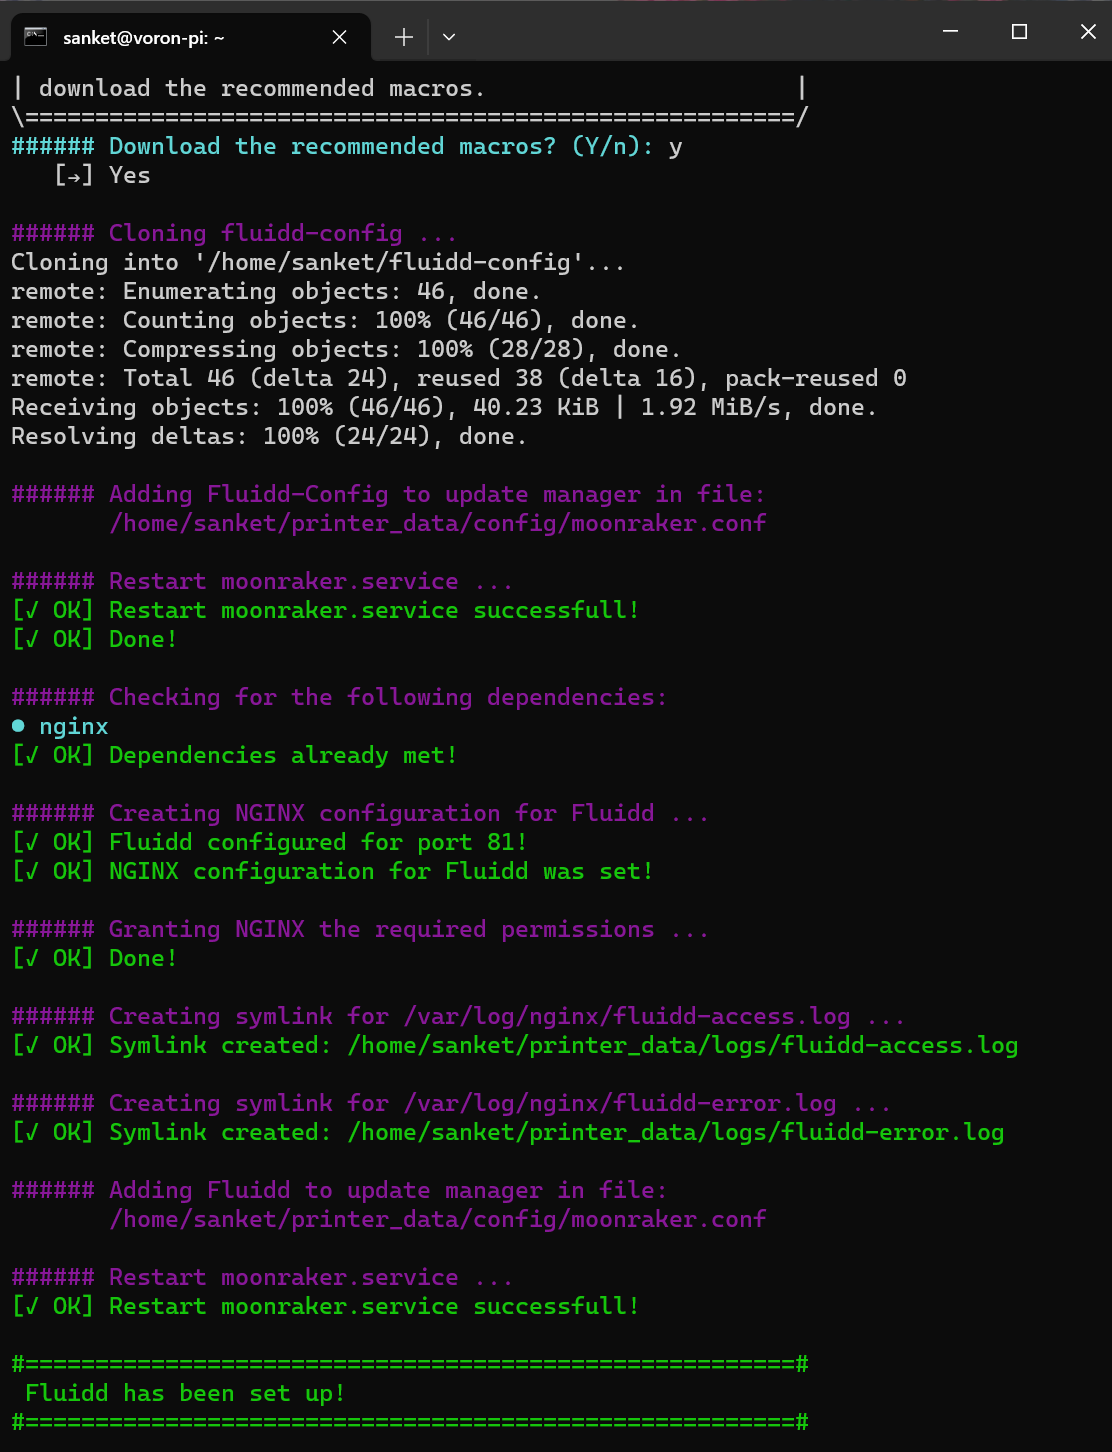
during the install you will be asked if you want to install recommended macros and I opted for it using Y.
on success it will display fluidd has been setup.
you can come back to main kiauh screen and check that fluidd now shows installed.
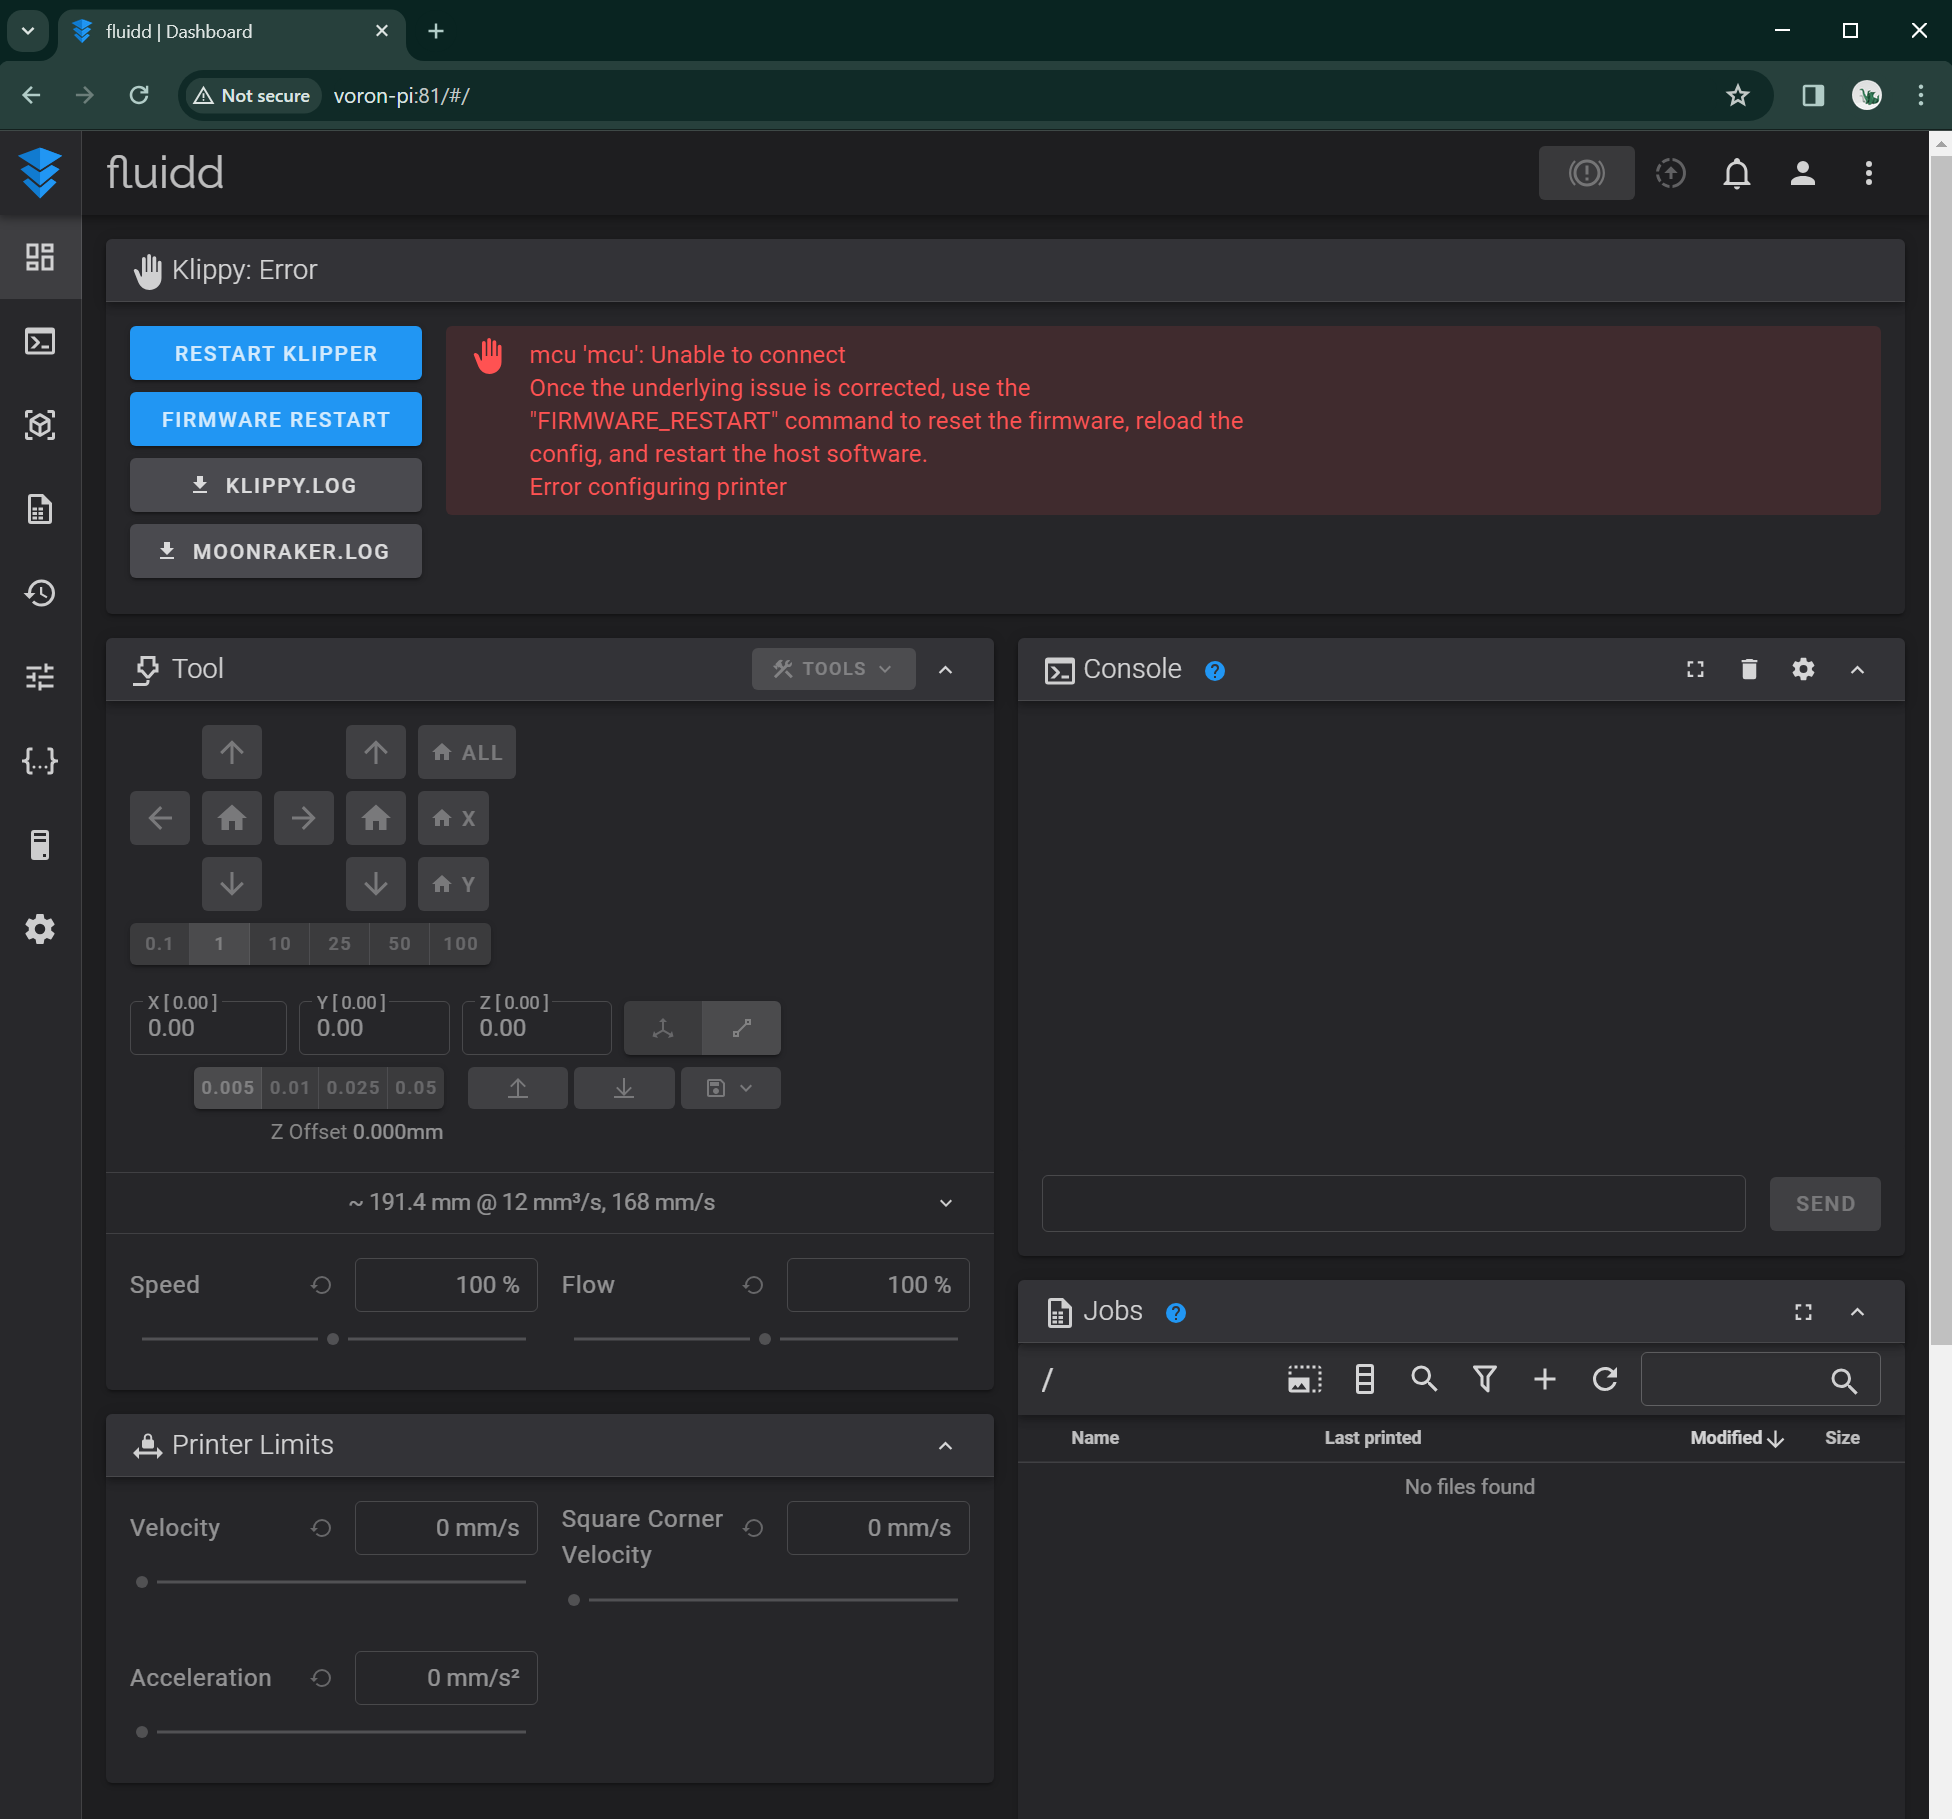
now you can reboot your pi and open fluidd web ui on port 81.
sudo reboot
if the web ui shows up like so you have everything working fine.
enable pi pwm fan control based on temperature
OPTIONAL I have a pwm fan installed on pi4 since the pi4 has a tendency to get hot. So the first thing I always do is enable this fan using pwm control else the fan will keep running at full speed.
once you are ssh into pi on first boot just type this in the console and it shall open a config section
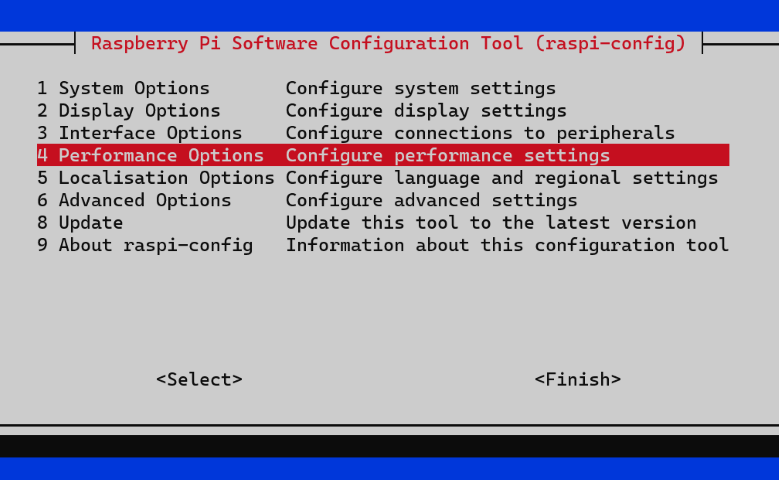
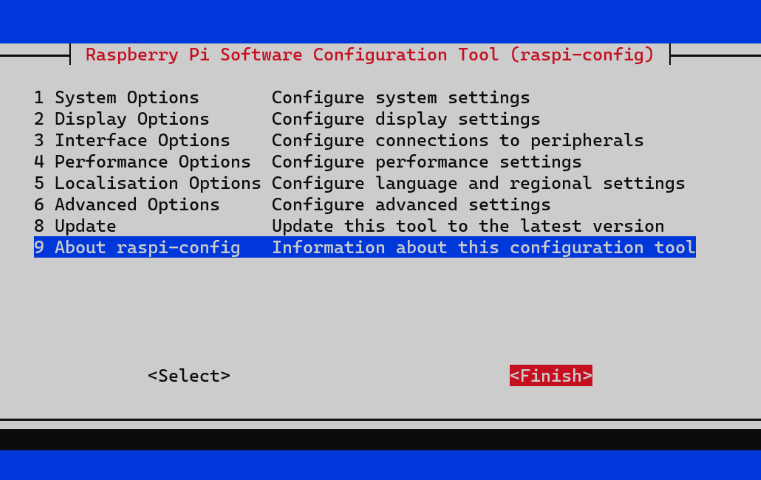
sudo raspi-config
Note: you can move up down using arrow keys and hit tab to check select or back on the bottom.
select performance options and hit select
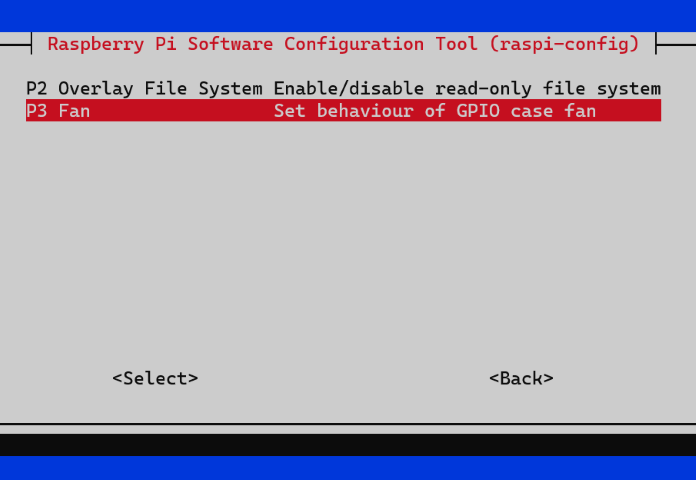
select P3 fan and hit select
select yes as we want ot enable fan temp control

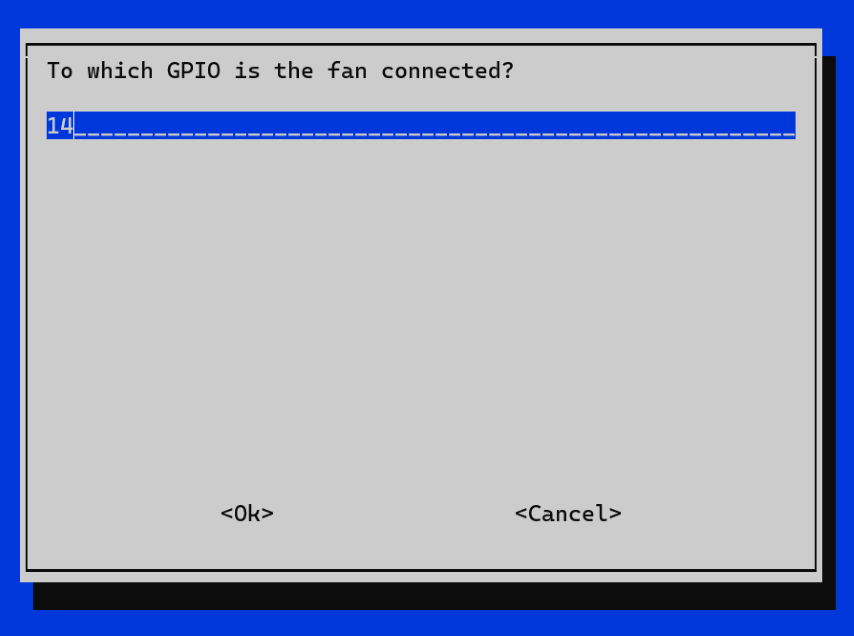
my fan pwm pin is connected to pin GPIO pin 14 so opting for 14
I would want the fan to turn on at 60 C so set this value as 60.

hit ok here to confirm everything

click finish
it important to check if this worked so we select reboot

now once the pi is boot again you wont hear the fan running all the time instead it will power on only when the temp crossed 60C thus helping you with a much quieter experience.
backups
pending . . .
references
docs
youtubers